Master orbital positioning to win
Fight for gravitational advantage in real-time around planets, moons, and asteroids. Orbital strategy that actually demands you know what you're doing.
Orbitanchor doesn't waste time with flight sim fluff. You manage satellites, calculate Hohmann transfers, and compete for position around real celestial bodies. Jupiter's Io. Saturn's Titan. The asteroid belt. Your orbit choices stack up. Every delta-v call matters.
There's no hand-holding here. You'll botch insertions. Your fuel math will be short by a couple hundred meters per second. A satellite gets pulled into a gravity well you didn't account for — so you figure out what went wrong and try again, this time smarter. The player who gets orbital mechanics right first gets the upper hand. Speed counts. Accuracy counts more.
How Orbitanchor works
Five mechanics that separate strategy from guesswork
Real orbital insertion math
Your satellite won't slip into orbit just because you want it to. You need to calculate apogee, perigee, and your exact insertion velocity. Miss by 50 m/s and you're watching it drift past the target body. The math doesn't budge.
Limited satellites, unlimited consequences
You start with five active satellites. Lose one to a bad calculation or enemy interception and you've got four left. That's it. Resource scarcity forces real tactical decisions because you can't throw a dozen probes at an orbit and hope one sticks.
Asymmetric gravitational advantage
Control Jupiter's orbital insertion window and you control Jupiter. Securing high-value bodies early compounds your advantage. You get fuel efficiency gains, faster repositioning windows, first dibs on resource-rich asteroids. Position is what matters.
Real-time orbital windows
You don't pause time and plan everything out. Planetary alignments shift. Orbital windows open and close on a timer. Your Hohmann transfer to Mars is available for the next seven minutes, then it's gone for another 47 days. Timing pressure forces quick decisions and teaches you to run the orbital mechanics in your head.
Incremental progression through failure
Your first orbit will fail. Probably the second one too. Orbitanchor shows you exactly why — which parameter was off, how much delta-v you wasted, whether you hit the gravity well too shallow or too steep. Each failure teaches you something. Each attempt sticks.
In-game visuals
Watch the orbital mechanics actually work. These are real trajectories with real math behind them. No marketing nonsense, just actual gameplay.
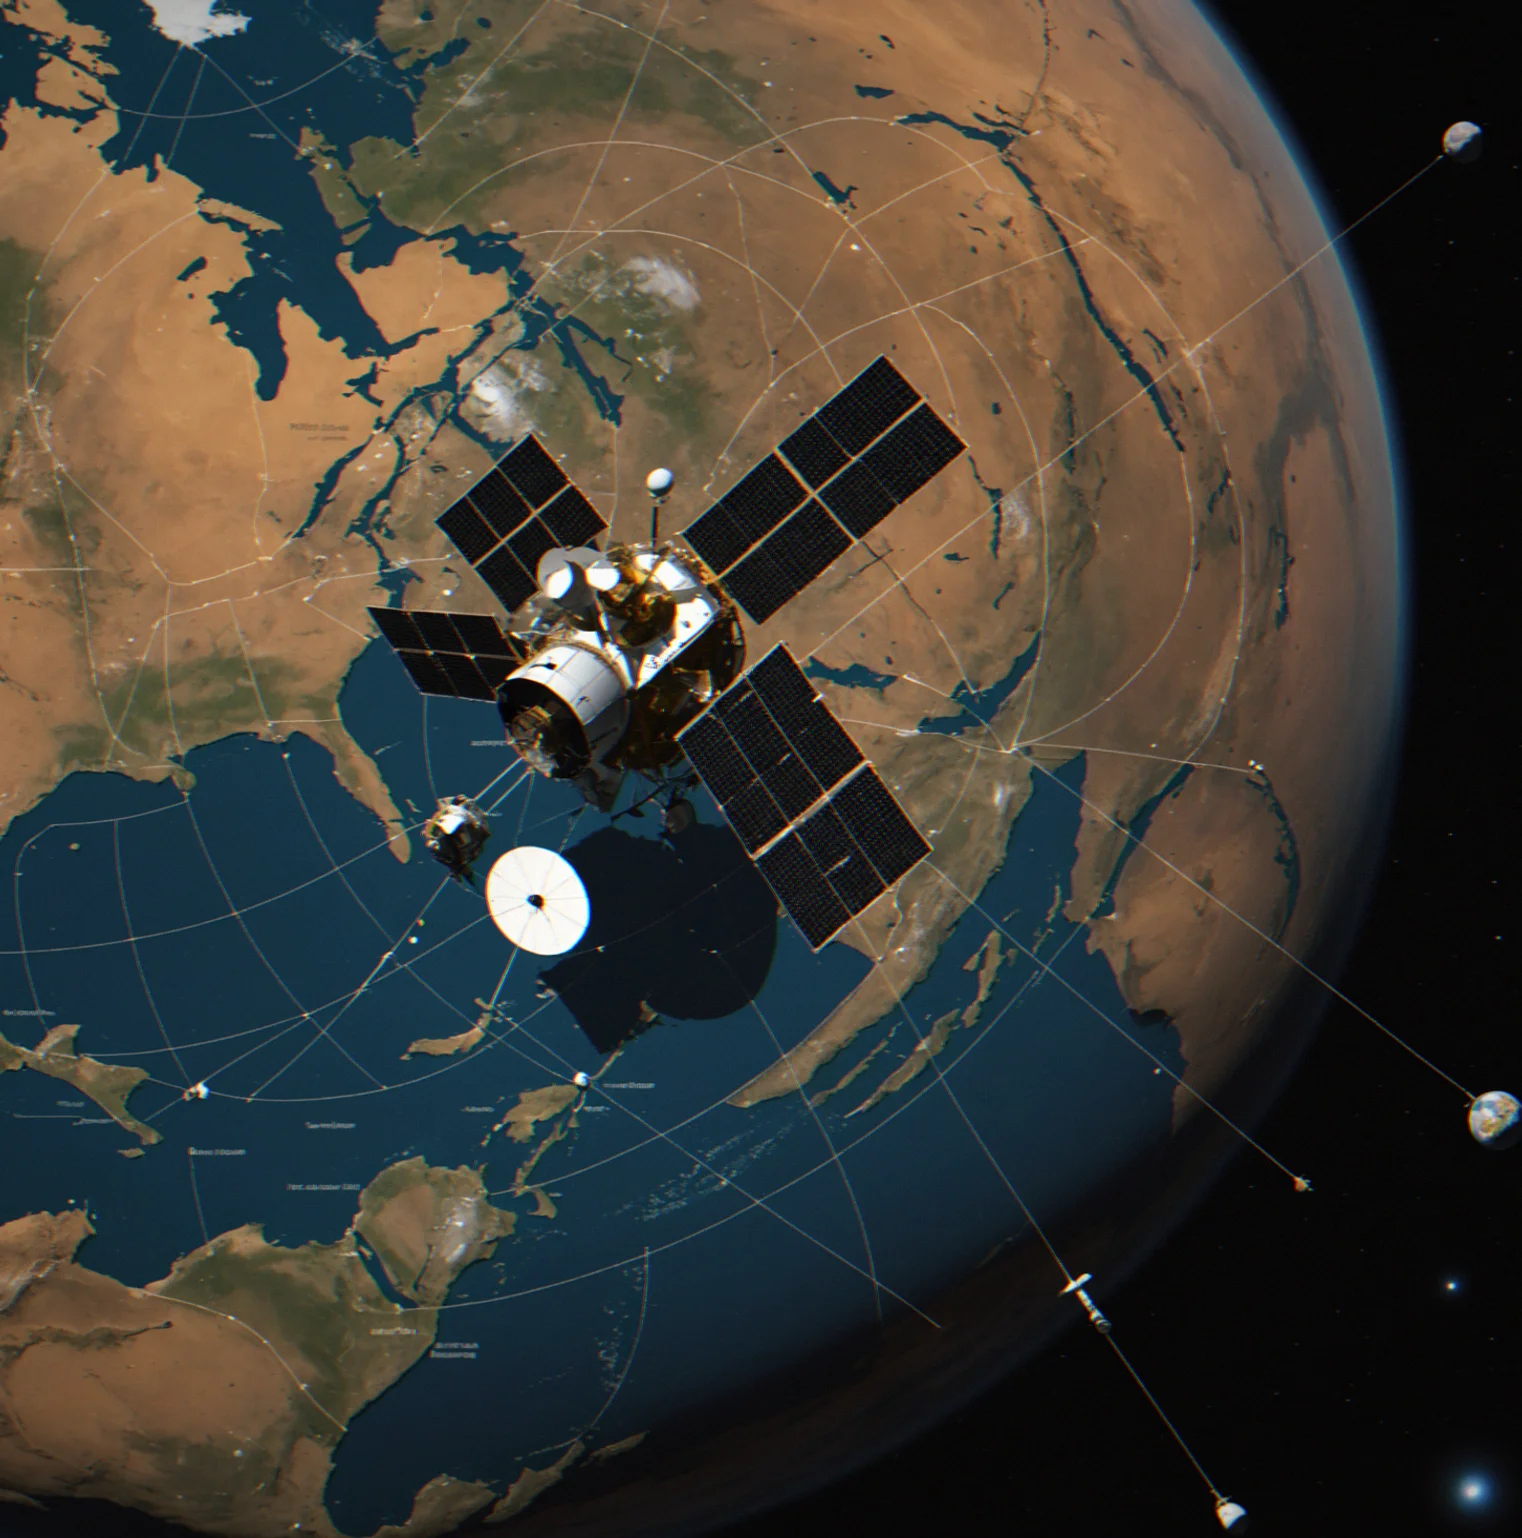
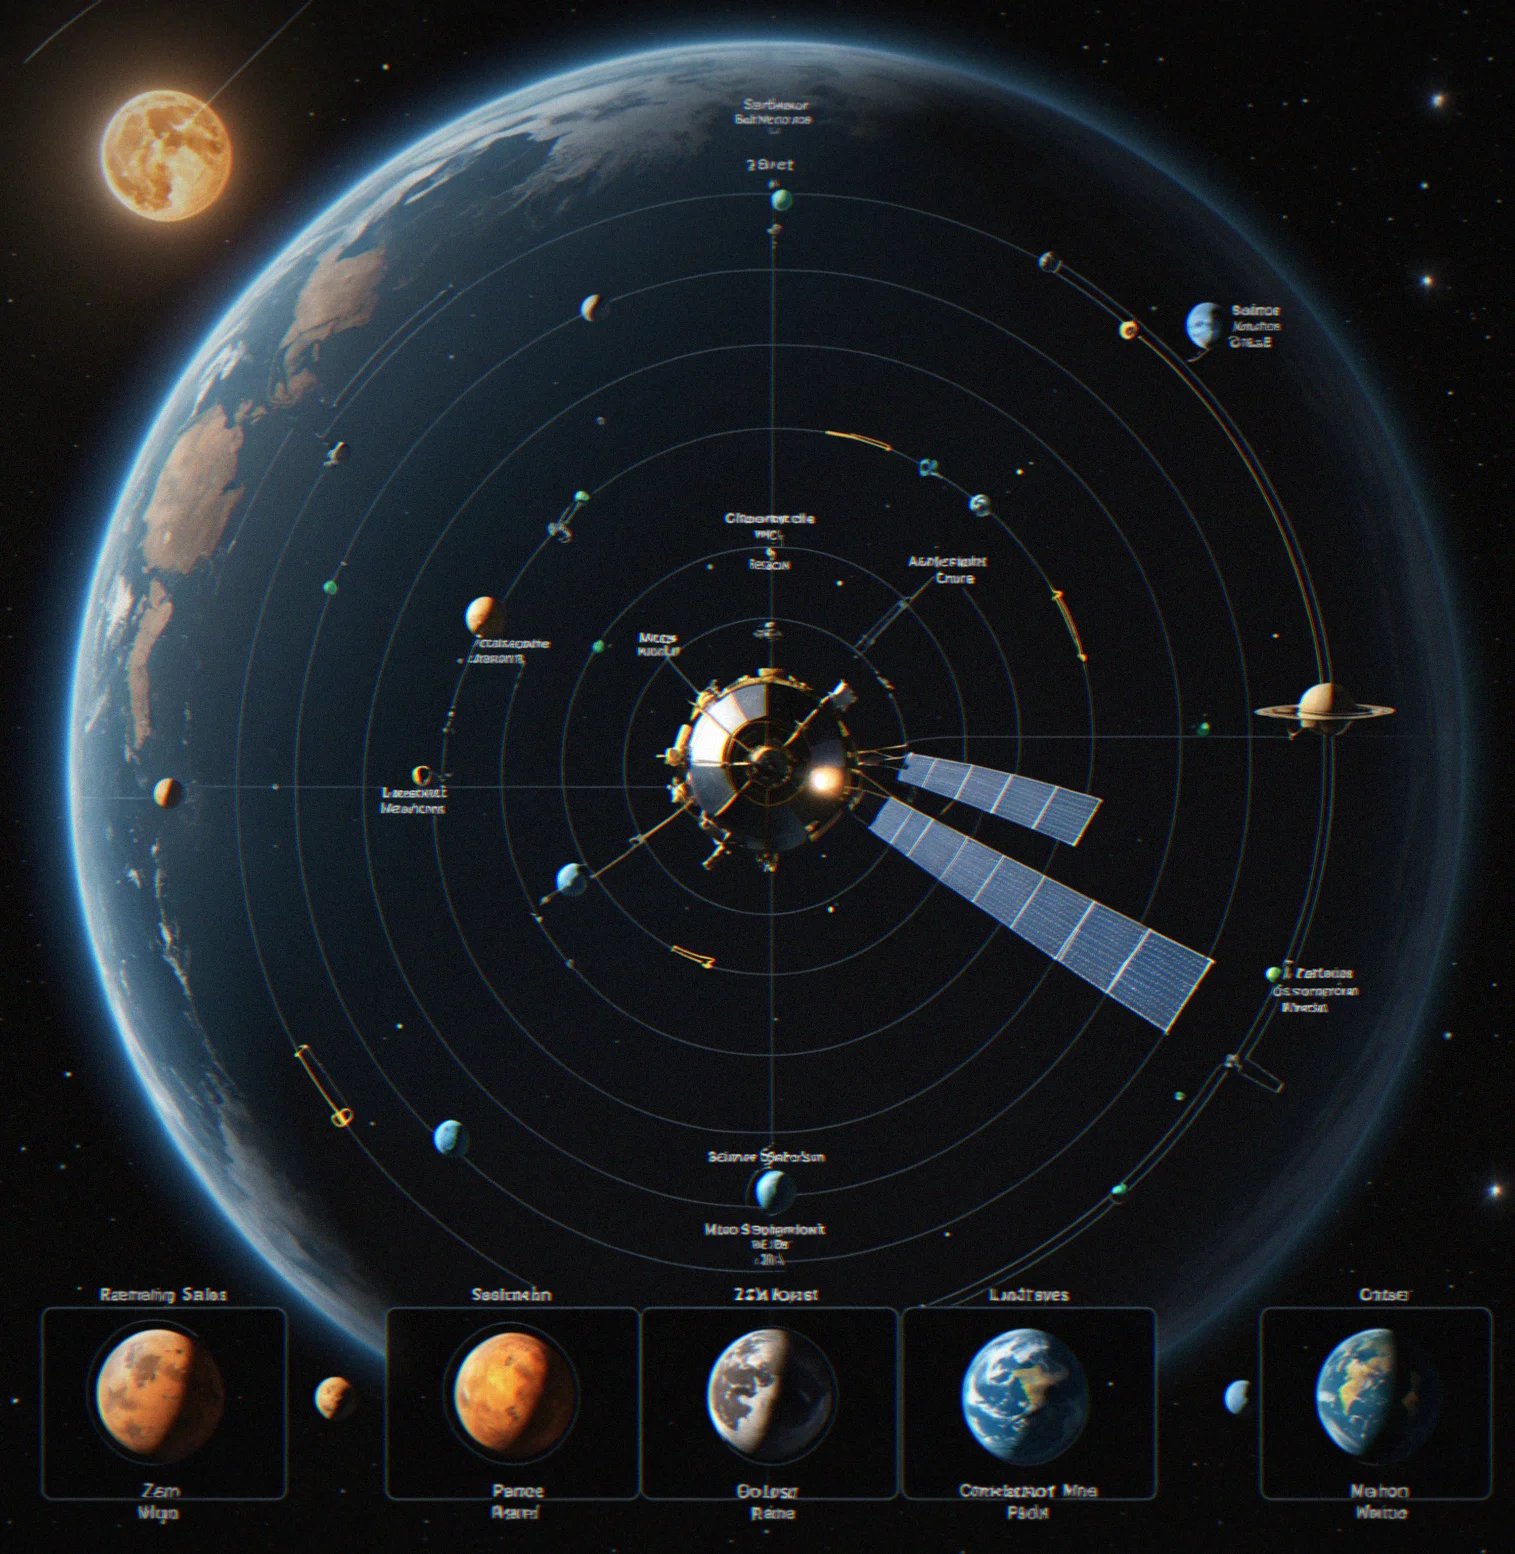
Planning your Mars insertion — you're looking at just under 850 meters per second of delta-v, with apogee sitting at 250 km
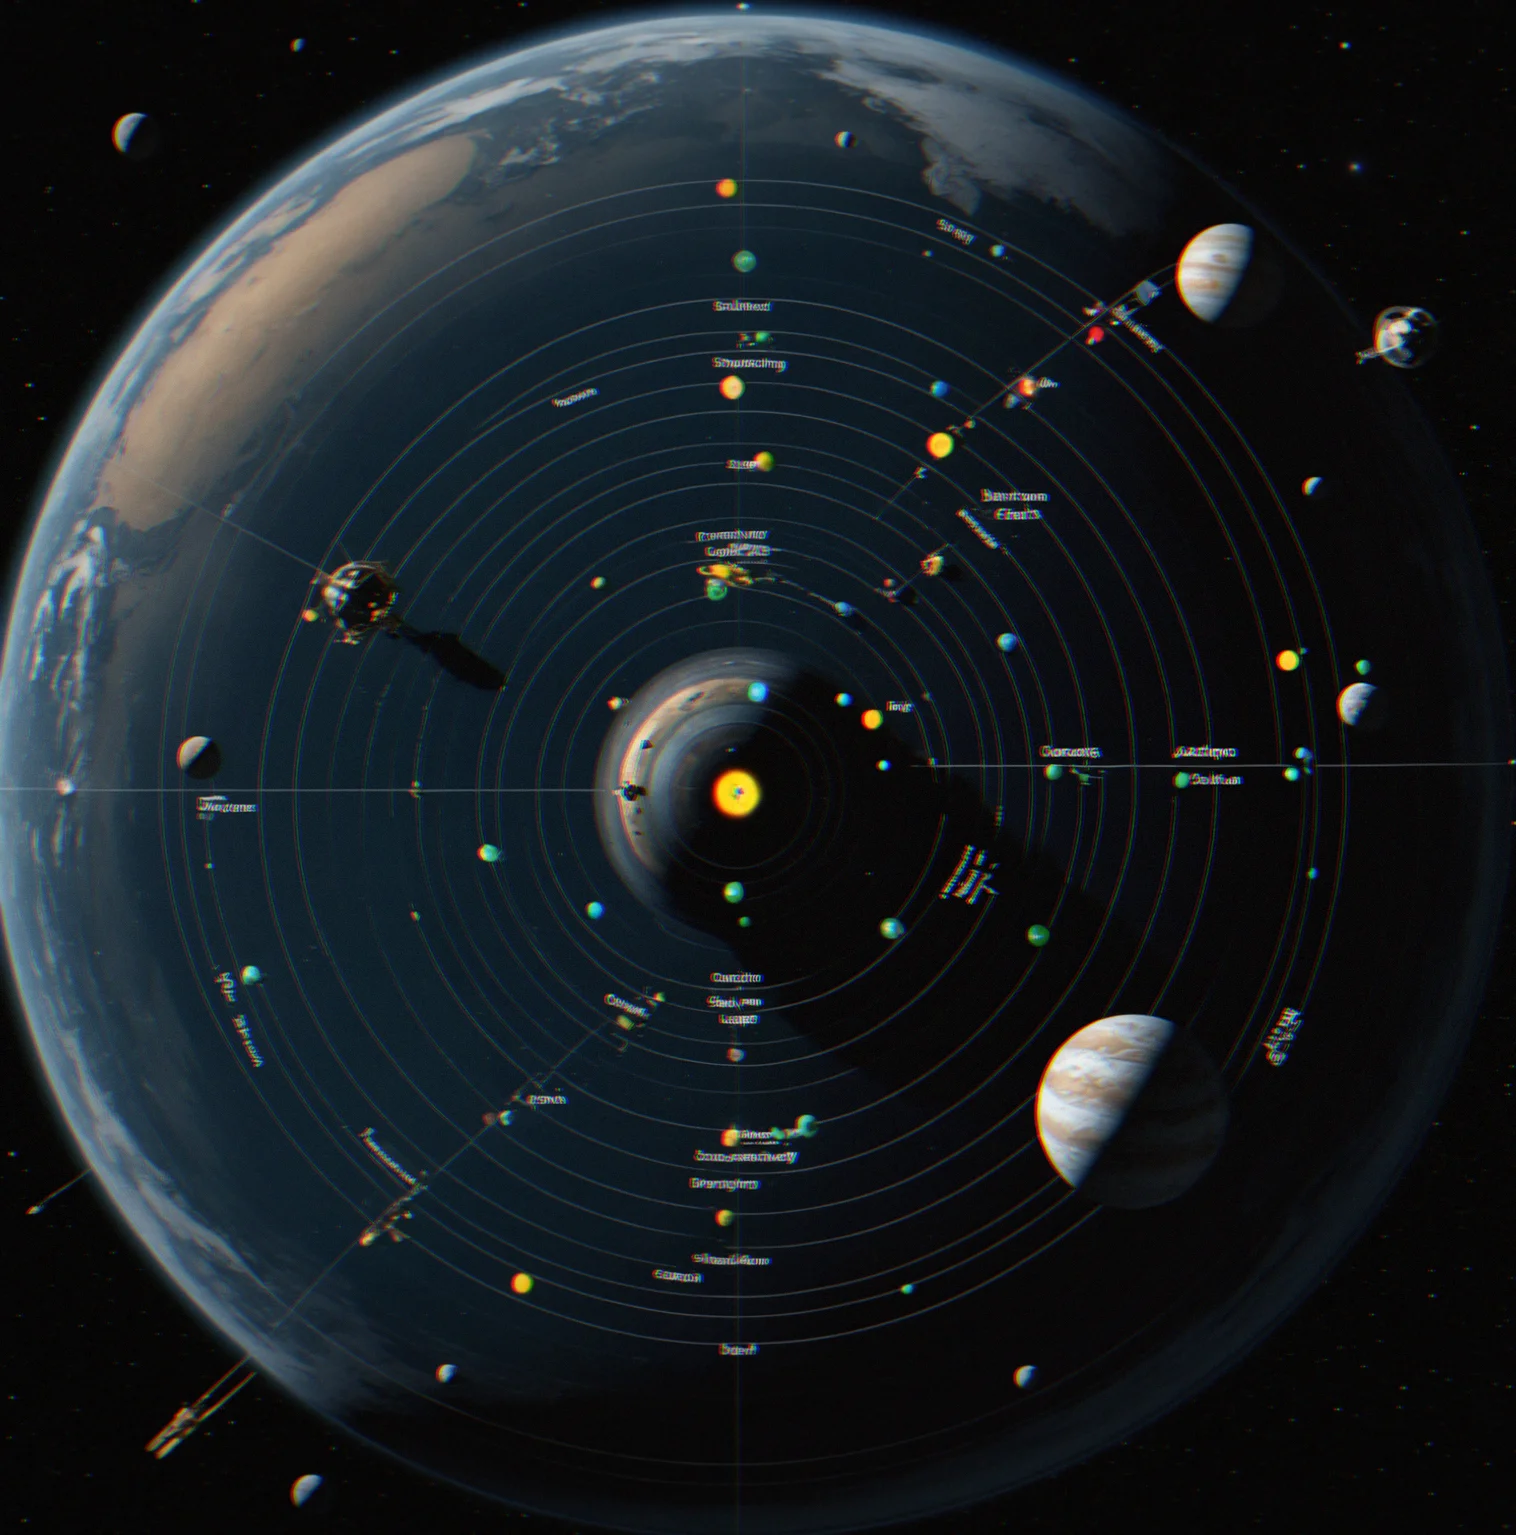
Five players in the arena. Jupiter's pulling everyone in different directions. Whoever gets the Io insertion locked down first basically owns the opening
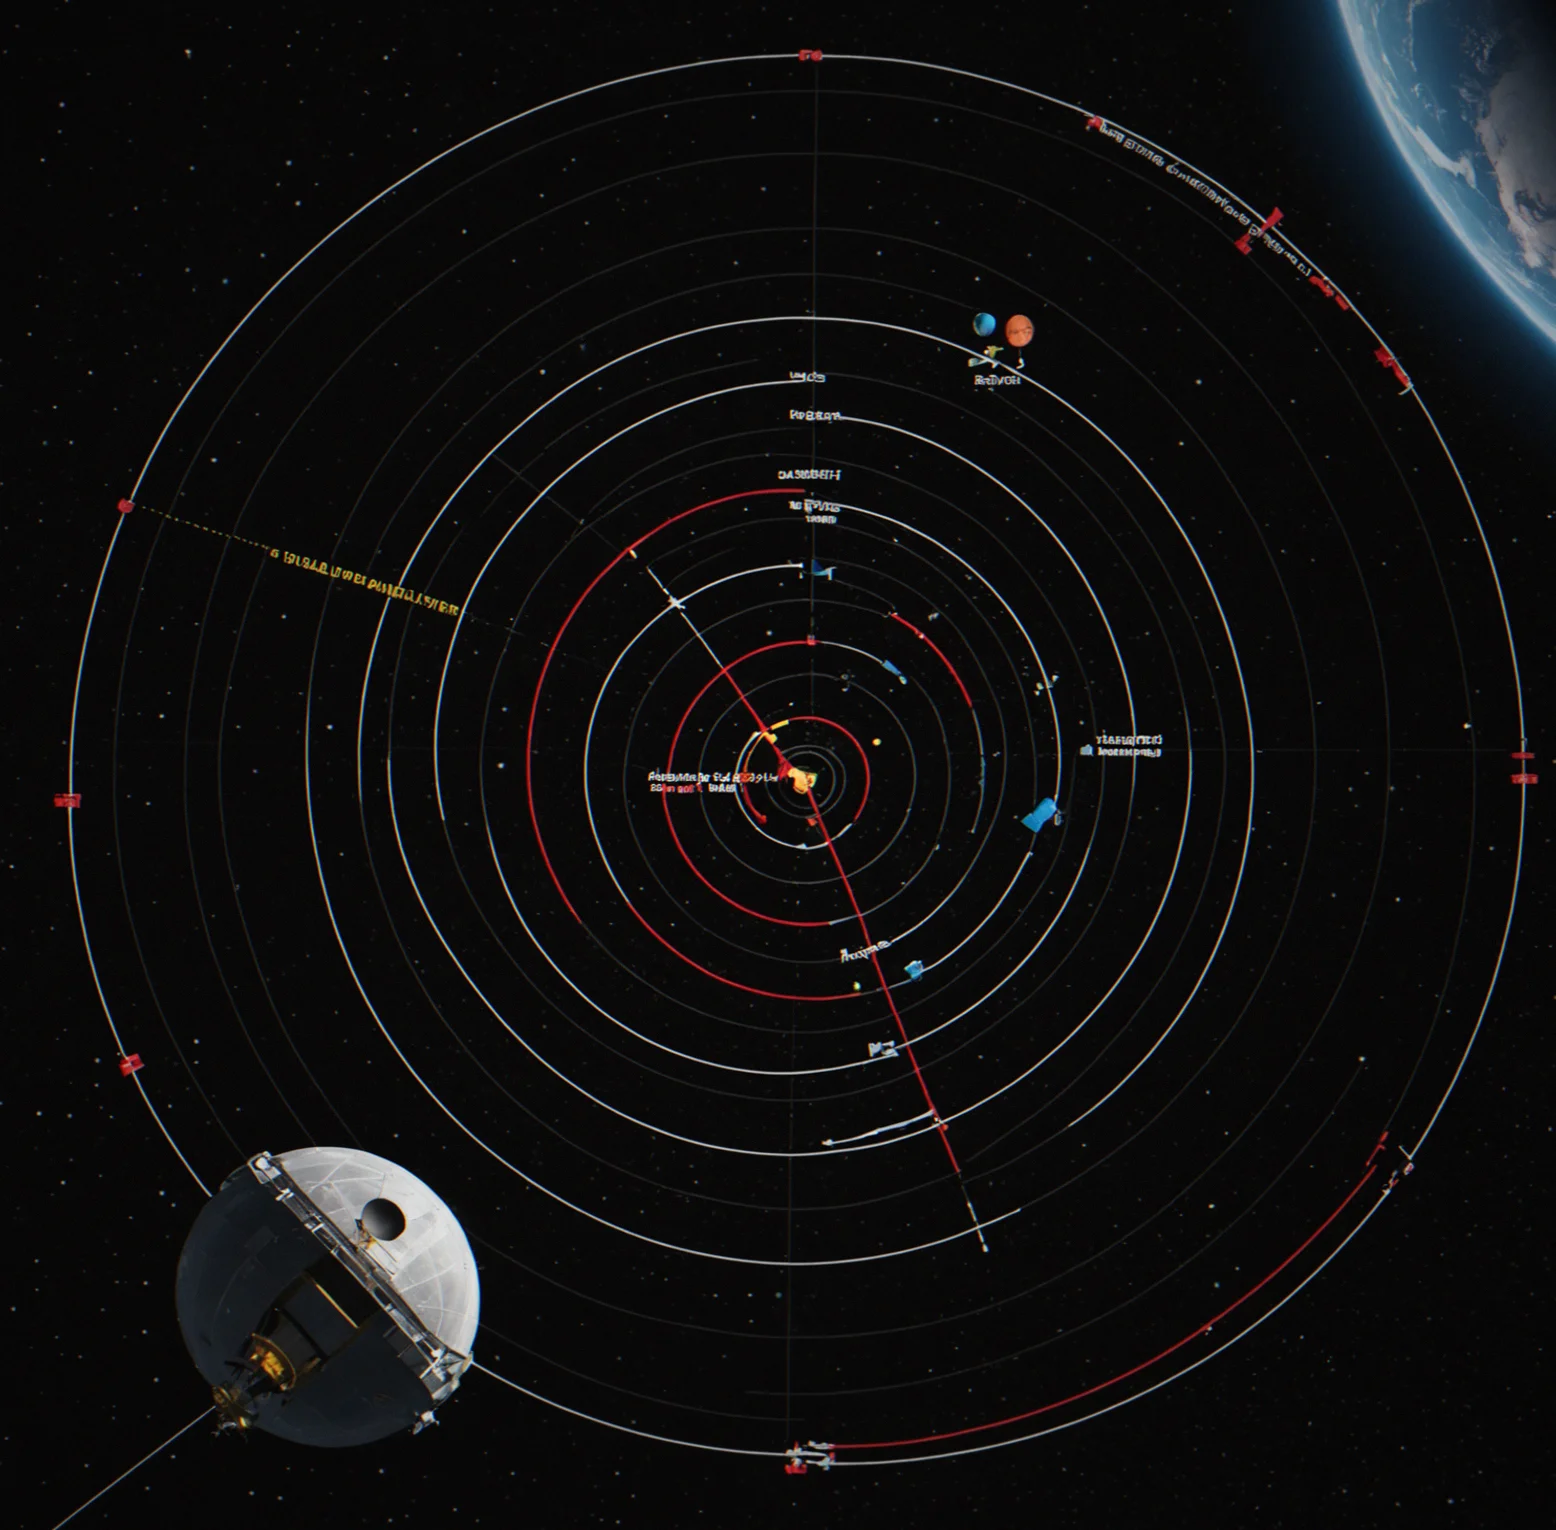
You missed by about 300 meters. The replay breaks down exactly when your burn timing was off so you can see what went wrong and try again
What you need to know
Six things that make Orbitanchor different from every other space game out there.
Hohmann transfers, not magic
Your satellite isn't just popping over to Jupiter. You calculate a Hohmann transfer, figure out your burn window, execute the maneuver over several game days, and if you get it right, you arrive at the insertion altitude you wanted. The physics checks out. The time investment is real too.
Fuel is the hard constraint
Tank capacity. Burn rate. Delta-v budget. You've got about 2,400 m/s across your entire fleet of five satellites. Spend it carefully. Blow it on a bad burn and your satellite's drifting into the void with no way to get it back.
Map control wins matches
Whoever plants themselves around the insertion points for the high-value bodies — Jupiter, Saturn, the asteroid belt — they're running the show. One player's early advantage gets stronger as the match goes on.
Real-time orbital windows
These don't stay open long. Got a shot at Earth-to-Venus? You've got roughly seven minutes. Miss it and you're waiting around 143 days before the next opportunity rolls around.
Failure teaches faster than success
Your first orbit will blow. Calculations are going to be off, timing will be messy, your satellite might miss the target body altogether. Orbitanchor shows you the replay, points out where you went wrong, and lets you try again. Either you learn or you repeat the same mistake.
Progression thrrough satellites, not unlocks
There's no cosmetic grind. No battle pass waiting for you to log in. You earn more satellites by winning matches. More satellites means more options for positioning at the same time, more flexibility with your orbits, more room to recover from mistakes. That's the whole progression.
Learn the fundamentals
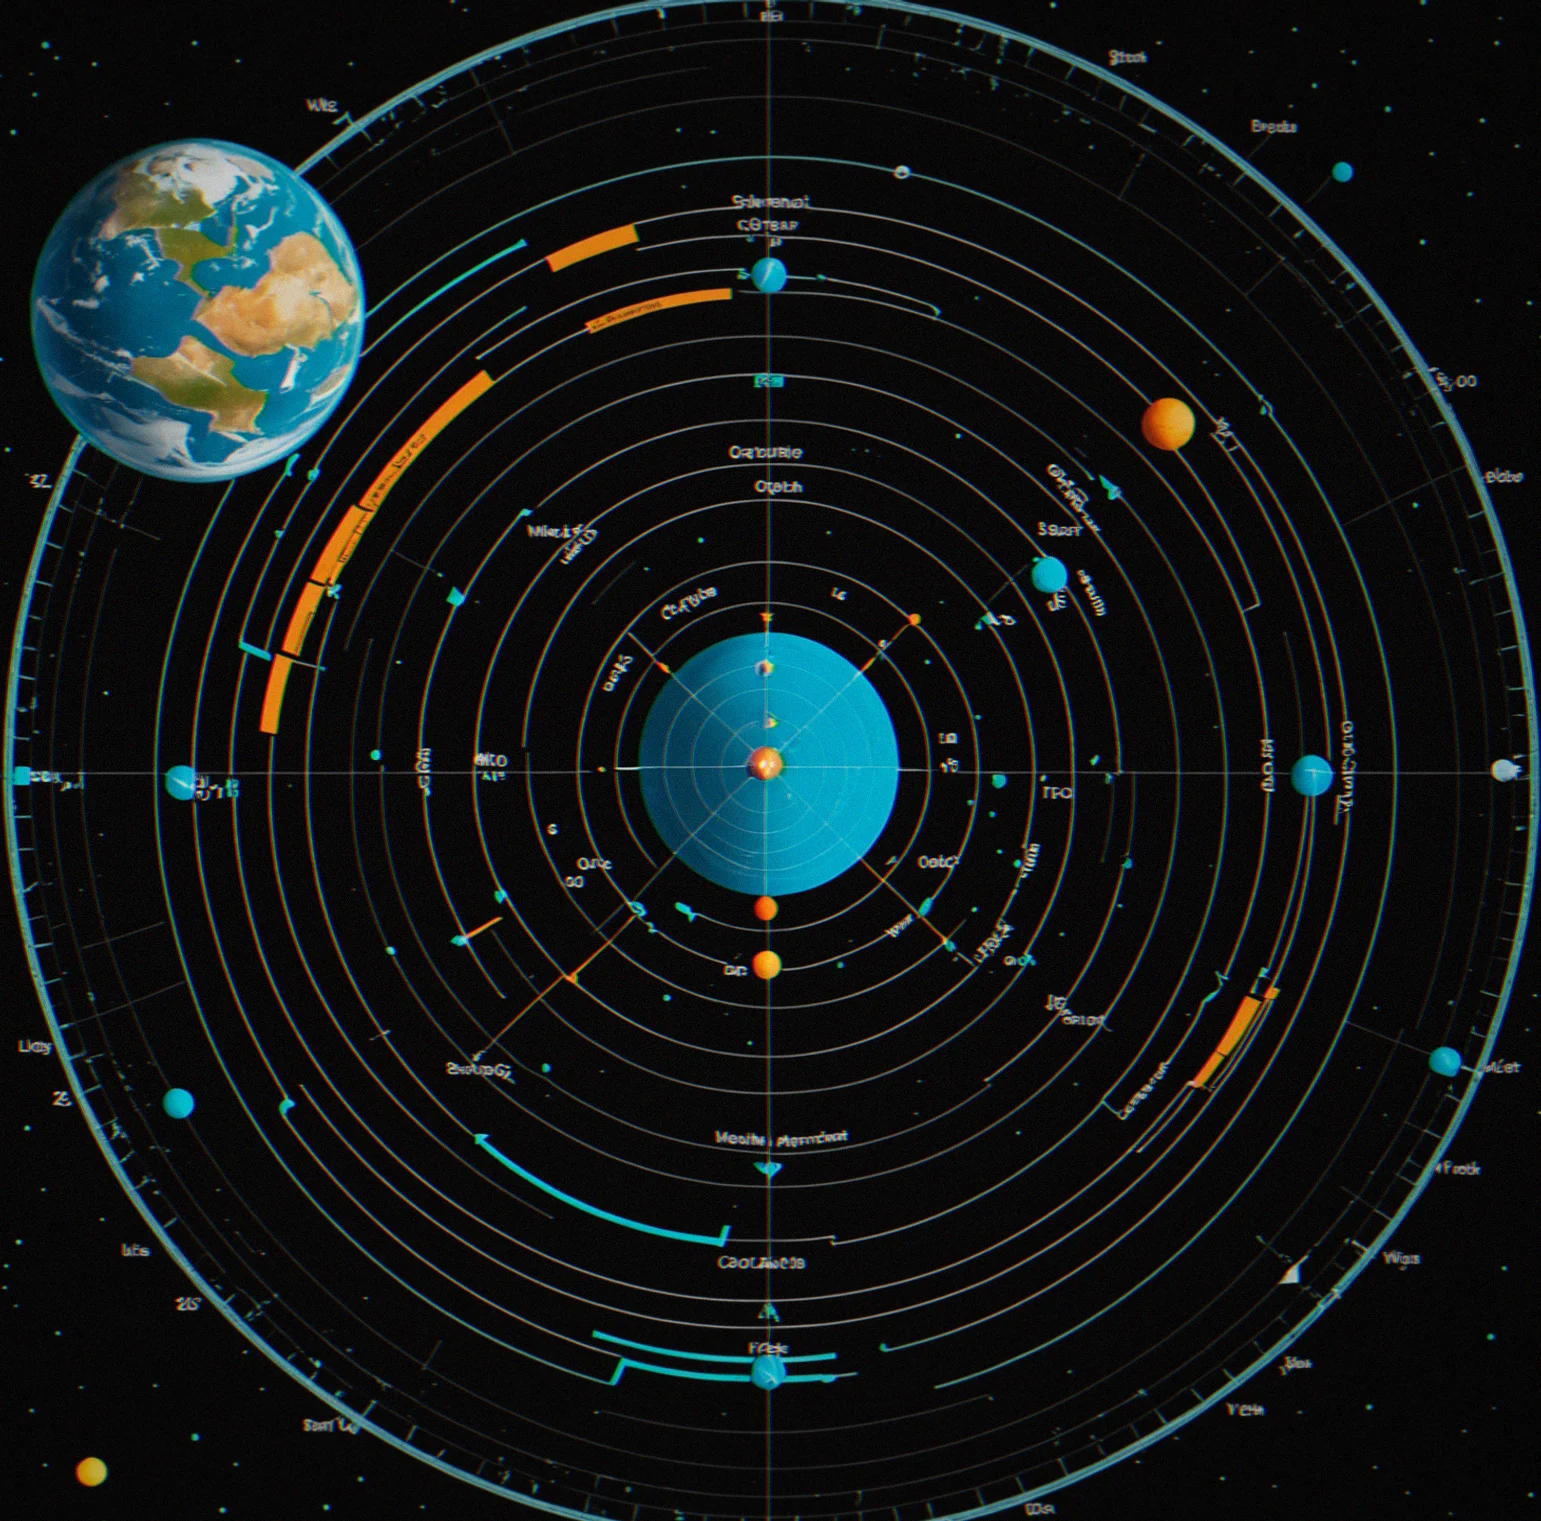
Orbital velocity calculations
Your satellite needs the right speed to stay in orbit. Off by a hundred meters per second and you either burn up or drift into a higher, unstable orbit. Get it wrong on the first burn and you're done.
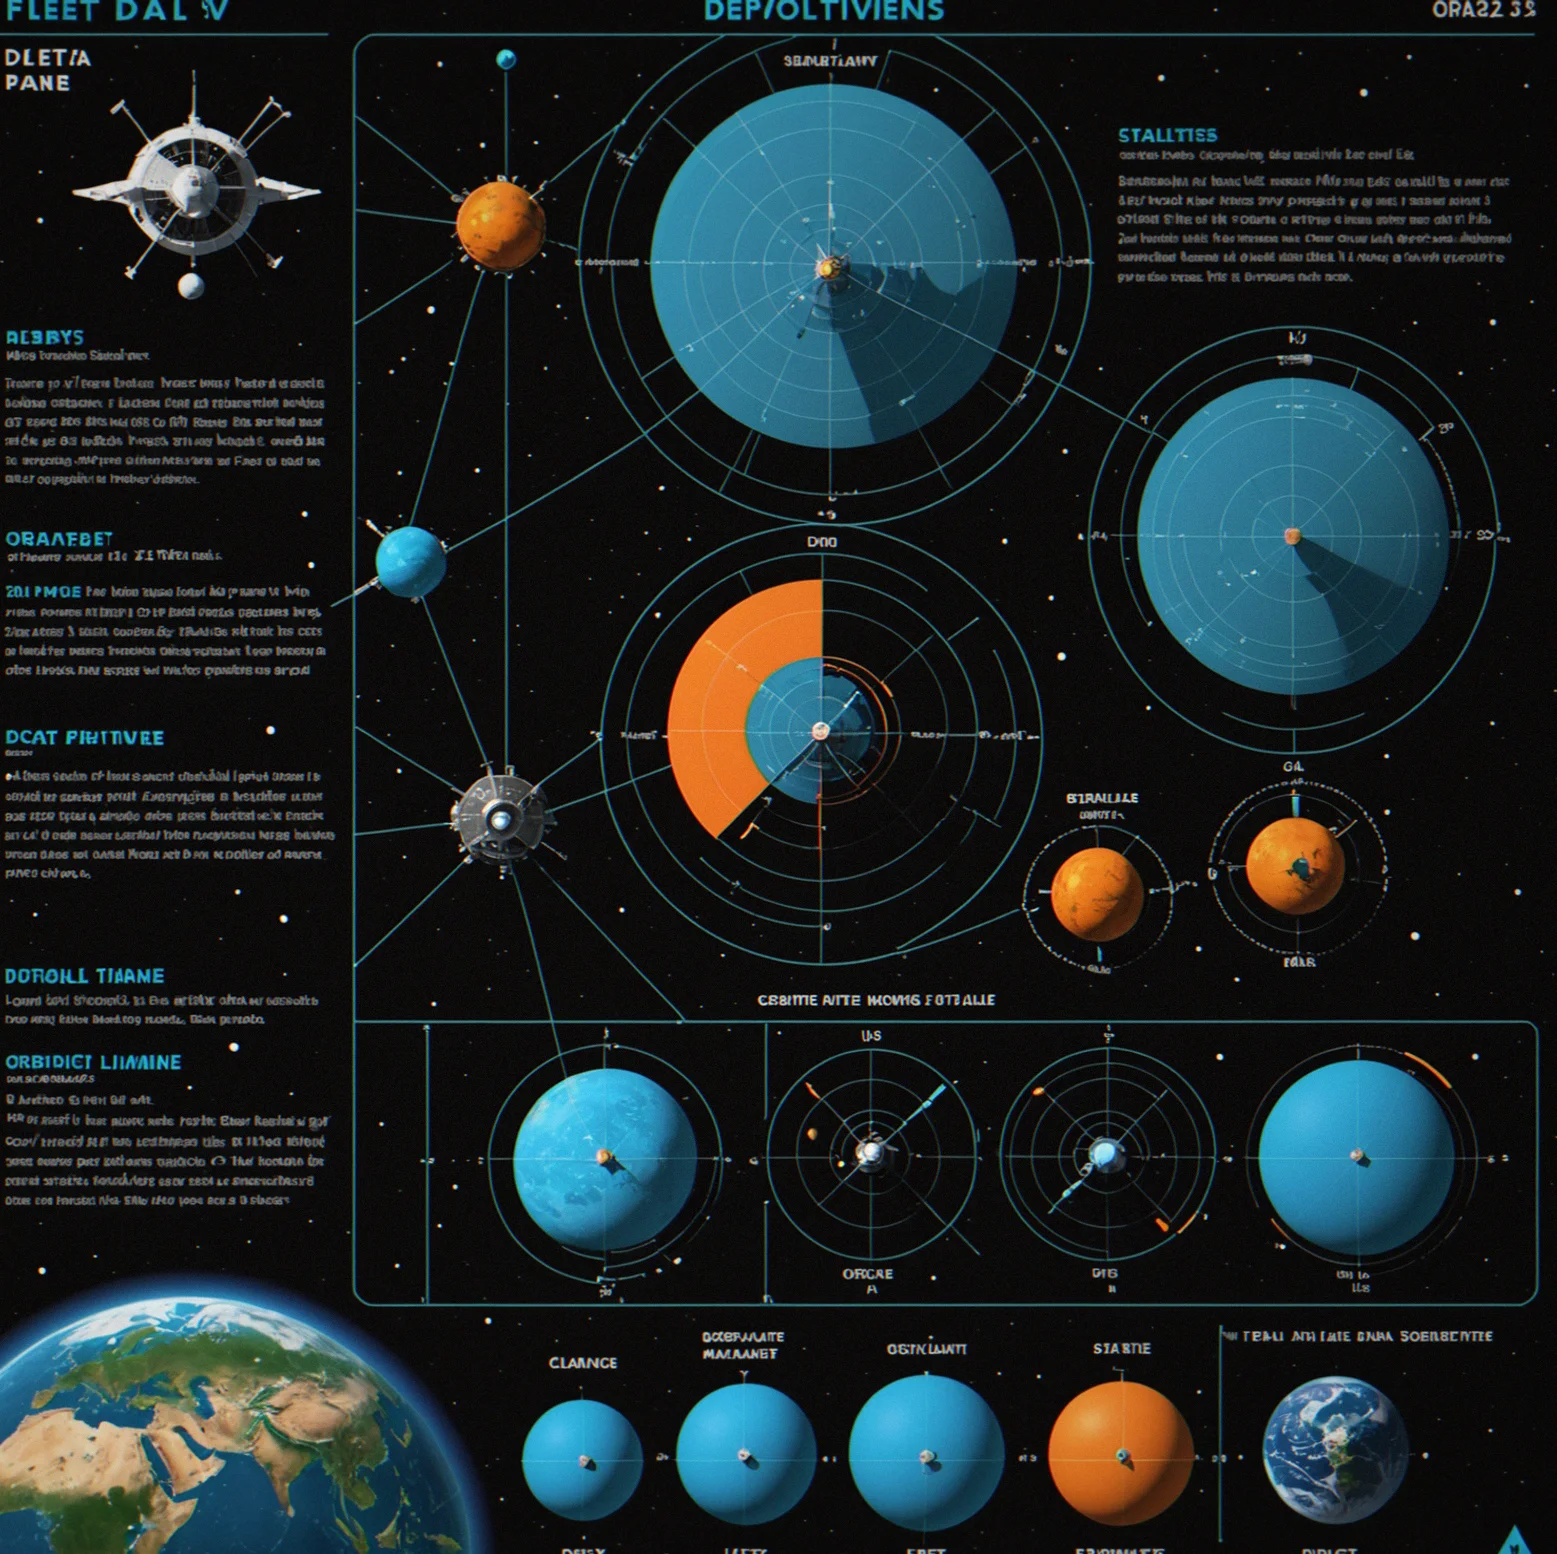
Delta-v budgeting across your fleet
You've got about 2.4 kilometers per second of delta-v split between five satellites. One aggressive maneuver eats 600 m/s. Your remaining four are starving for fuel for the rest of the match. Think ahead.
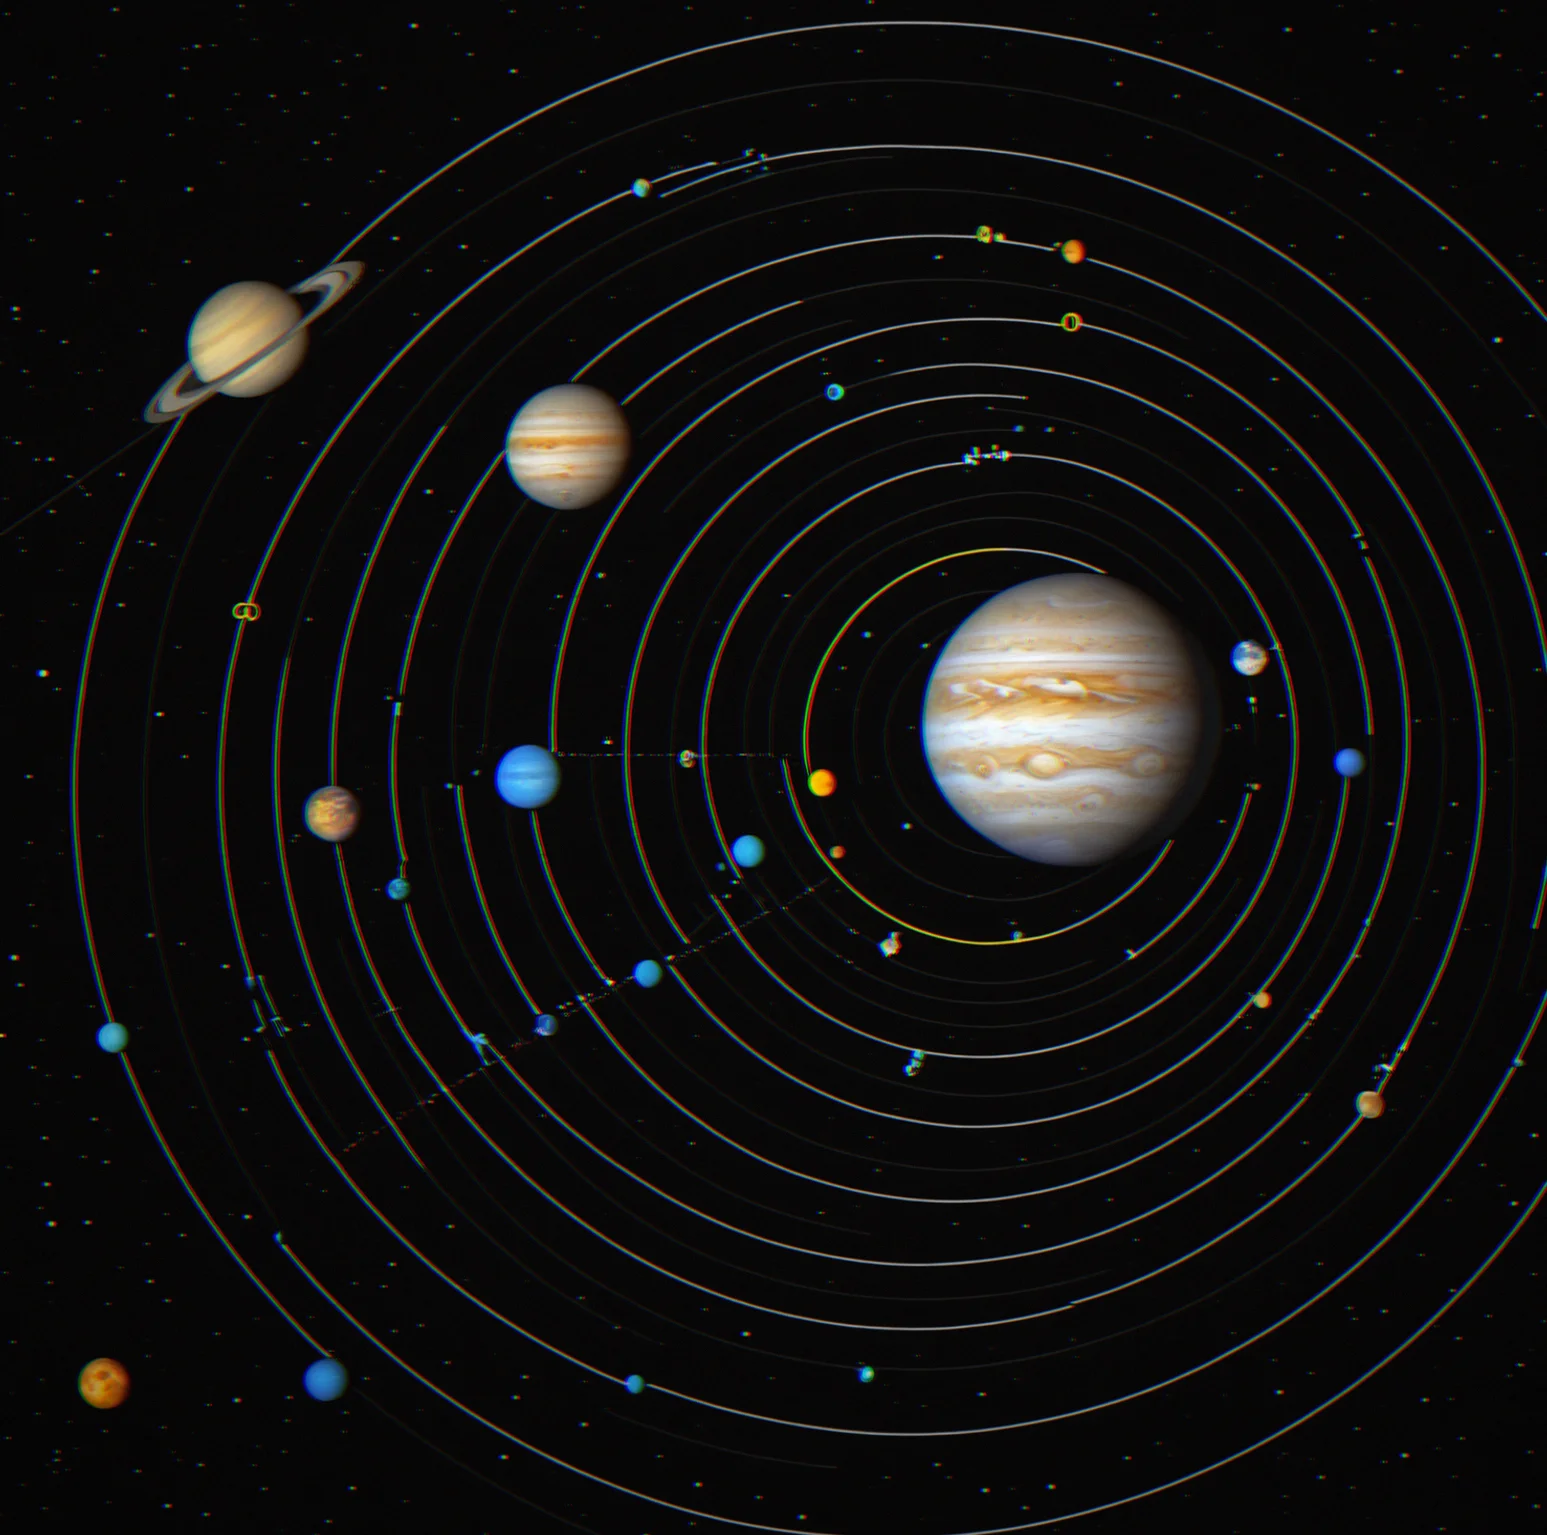
Gravitational sphere of influence
Every celestial body pulls hardest in its own sphere of influence. Control where you enter and you control access. Jupiter's reach stretches nearly 50 million kilometers out. That's your leverage.
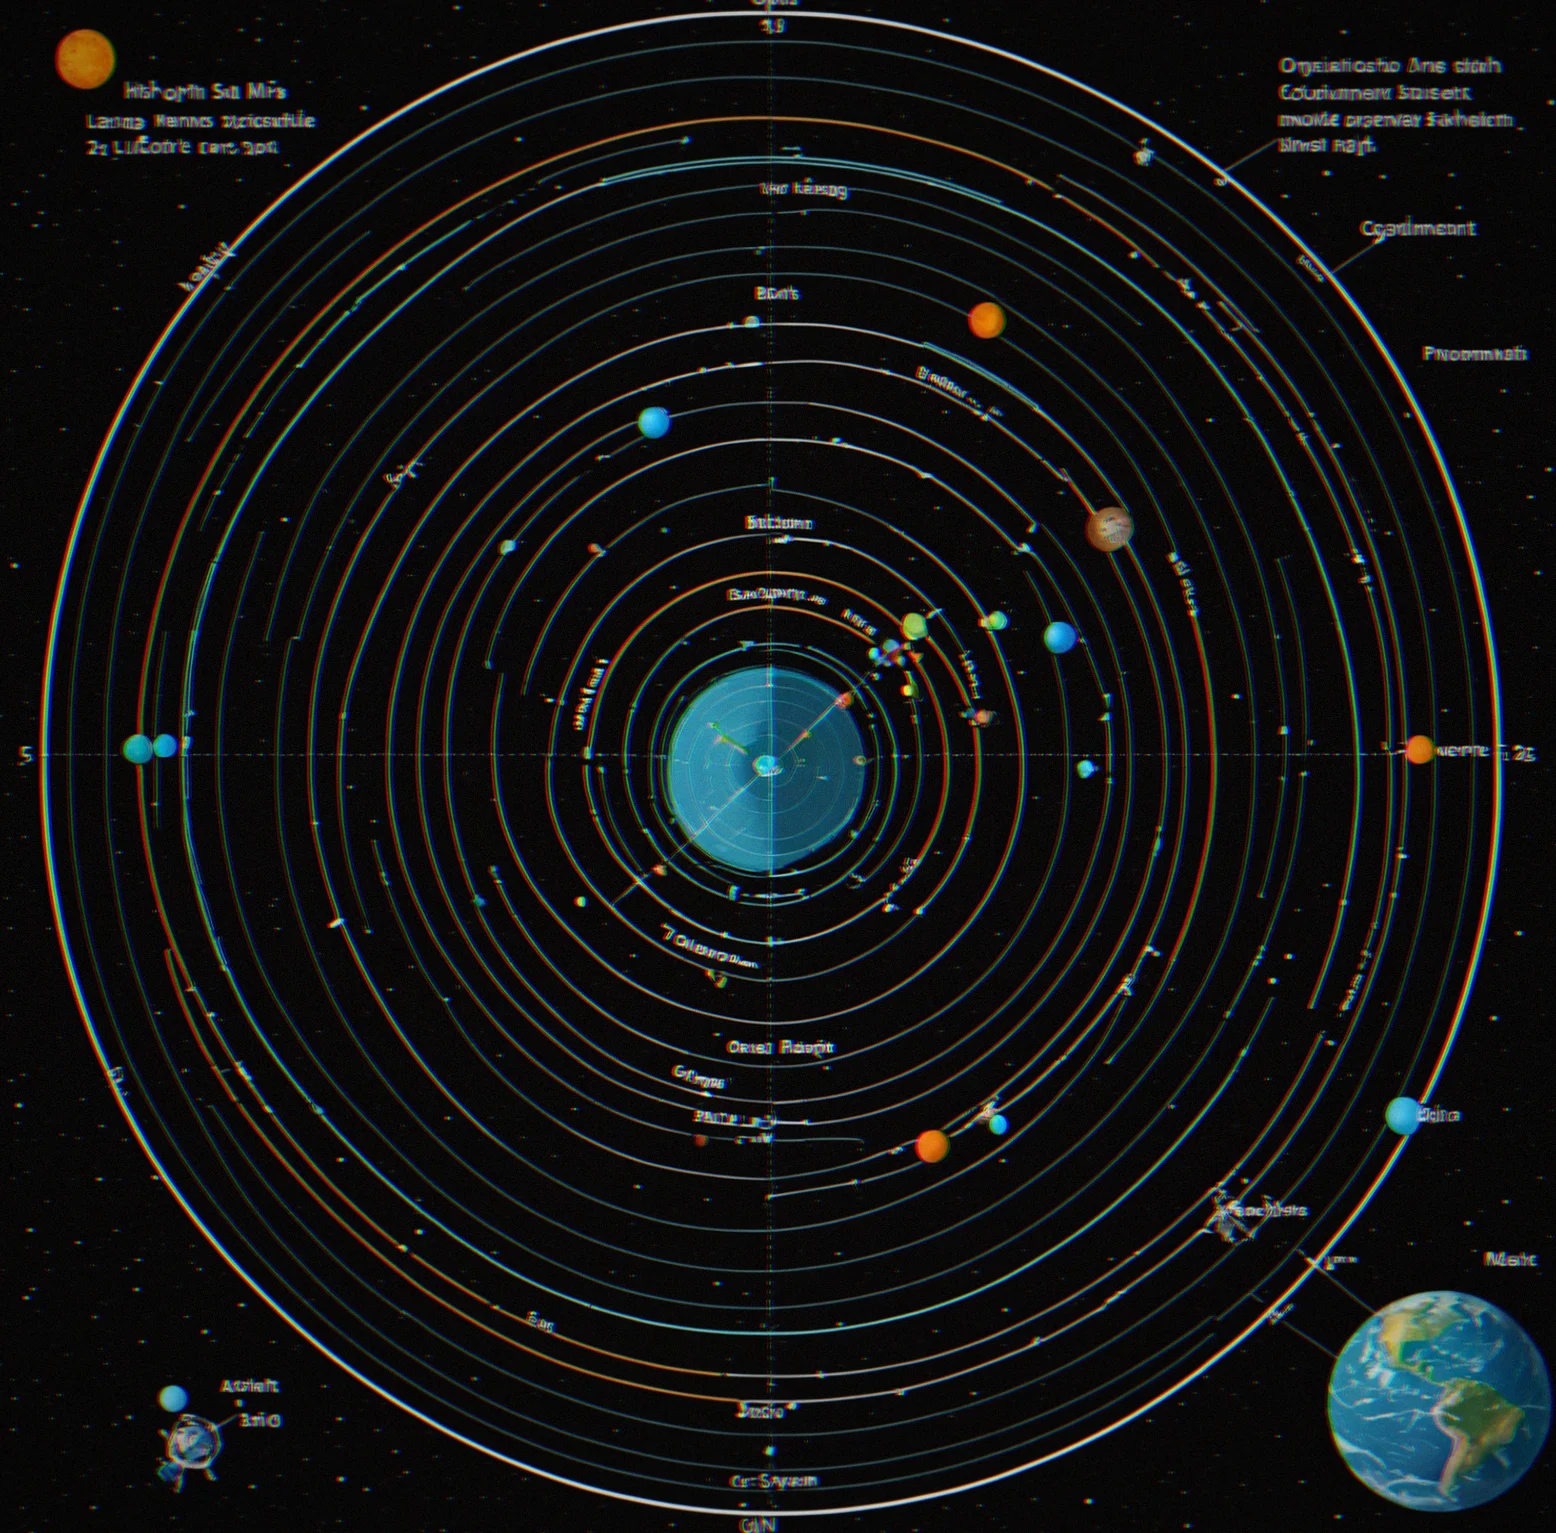
Hohmann transfer windows
Getting to Mars from Earth means waiting for the window. It opens for seven minutes every 26 months. Miss it and you're stuck for almost two years. The pressure is real. You learn fast.
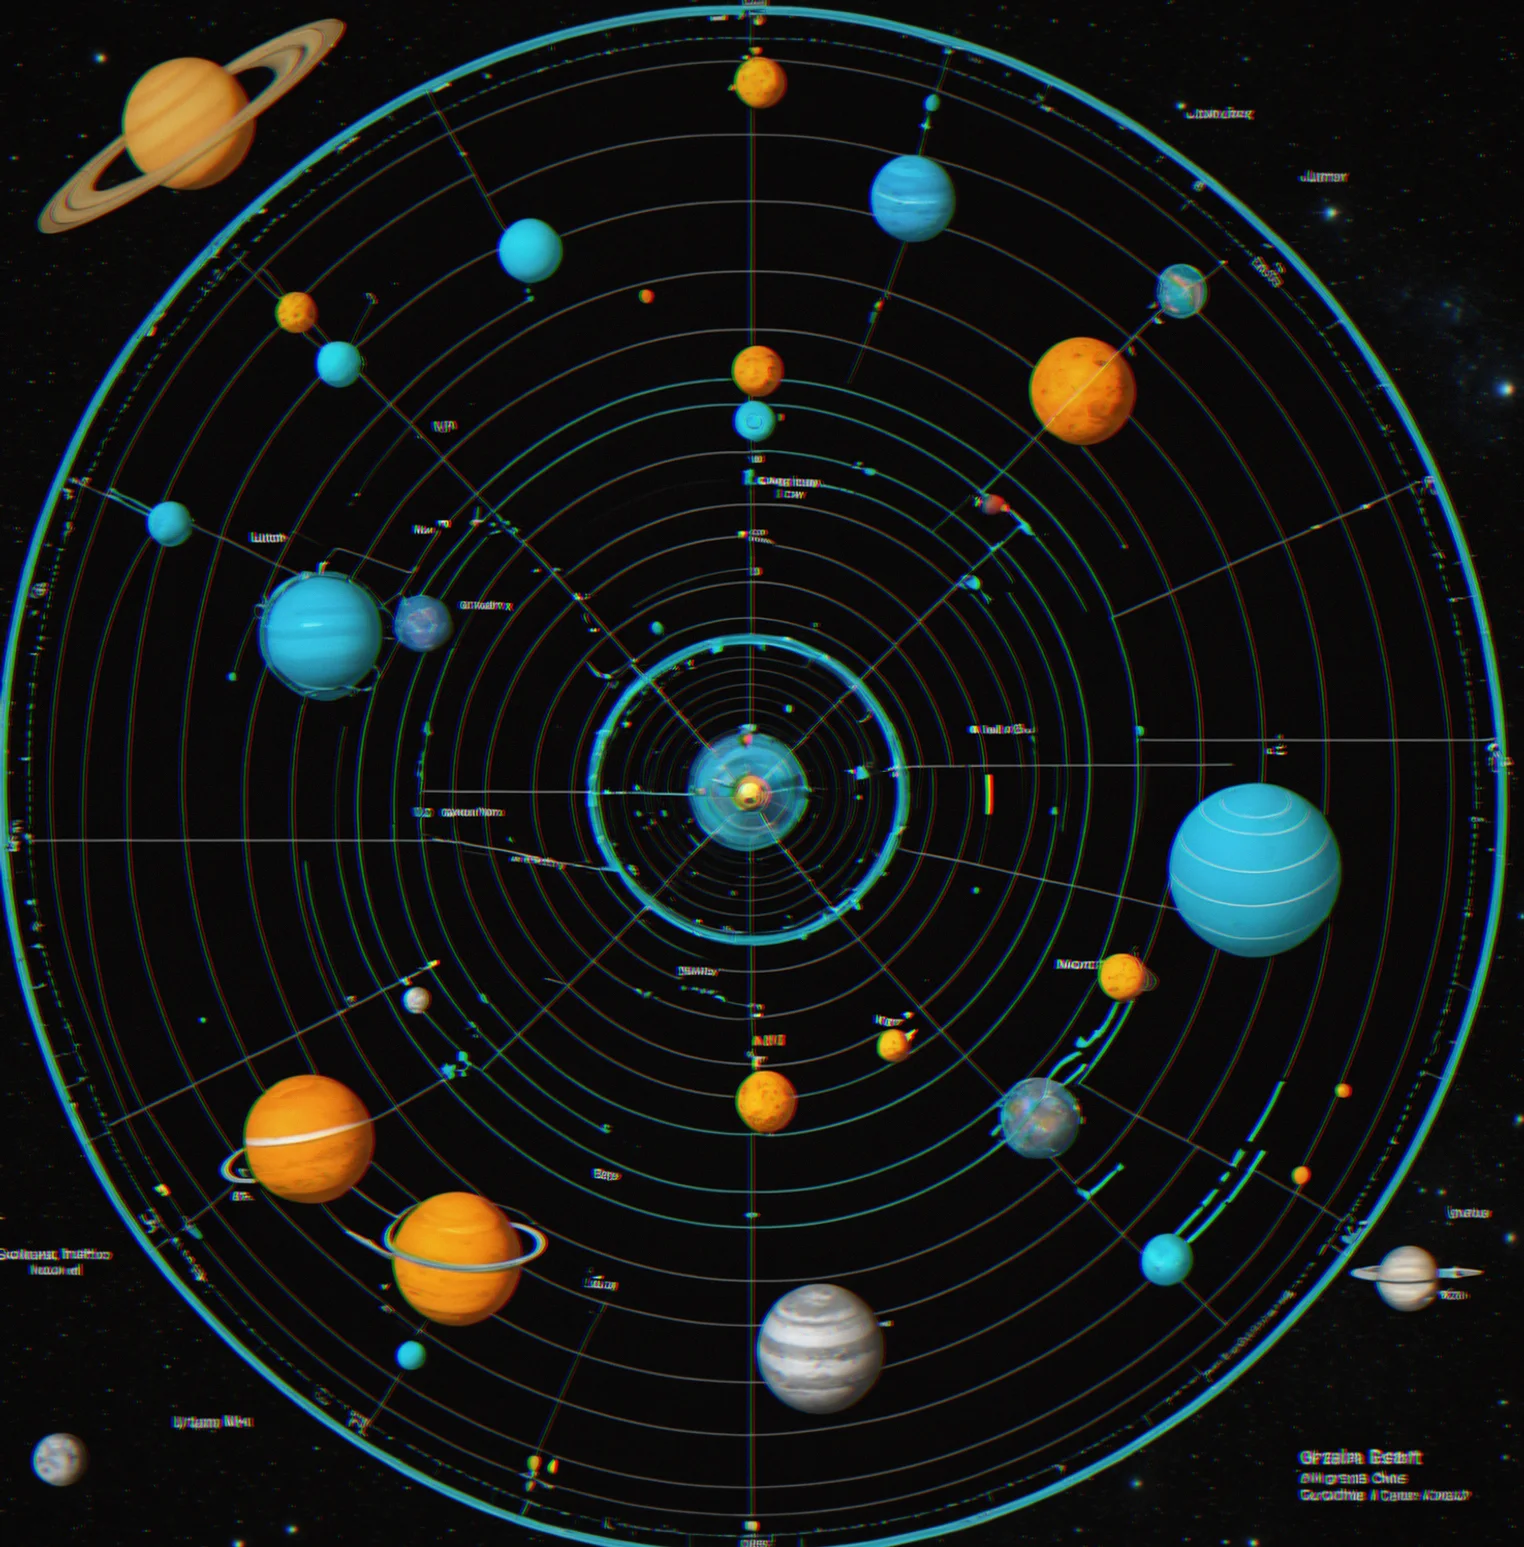
Satellite positioning for advantage
Lock the lunar corridor first. Grab Io's window. Own the asteroid belt entry points. Position compounds — better fuel efficiency, faster moves, more resources. It's map control.
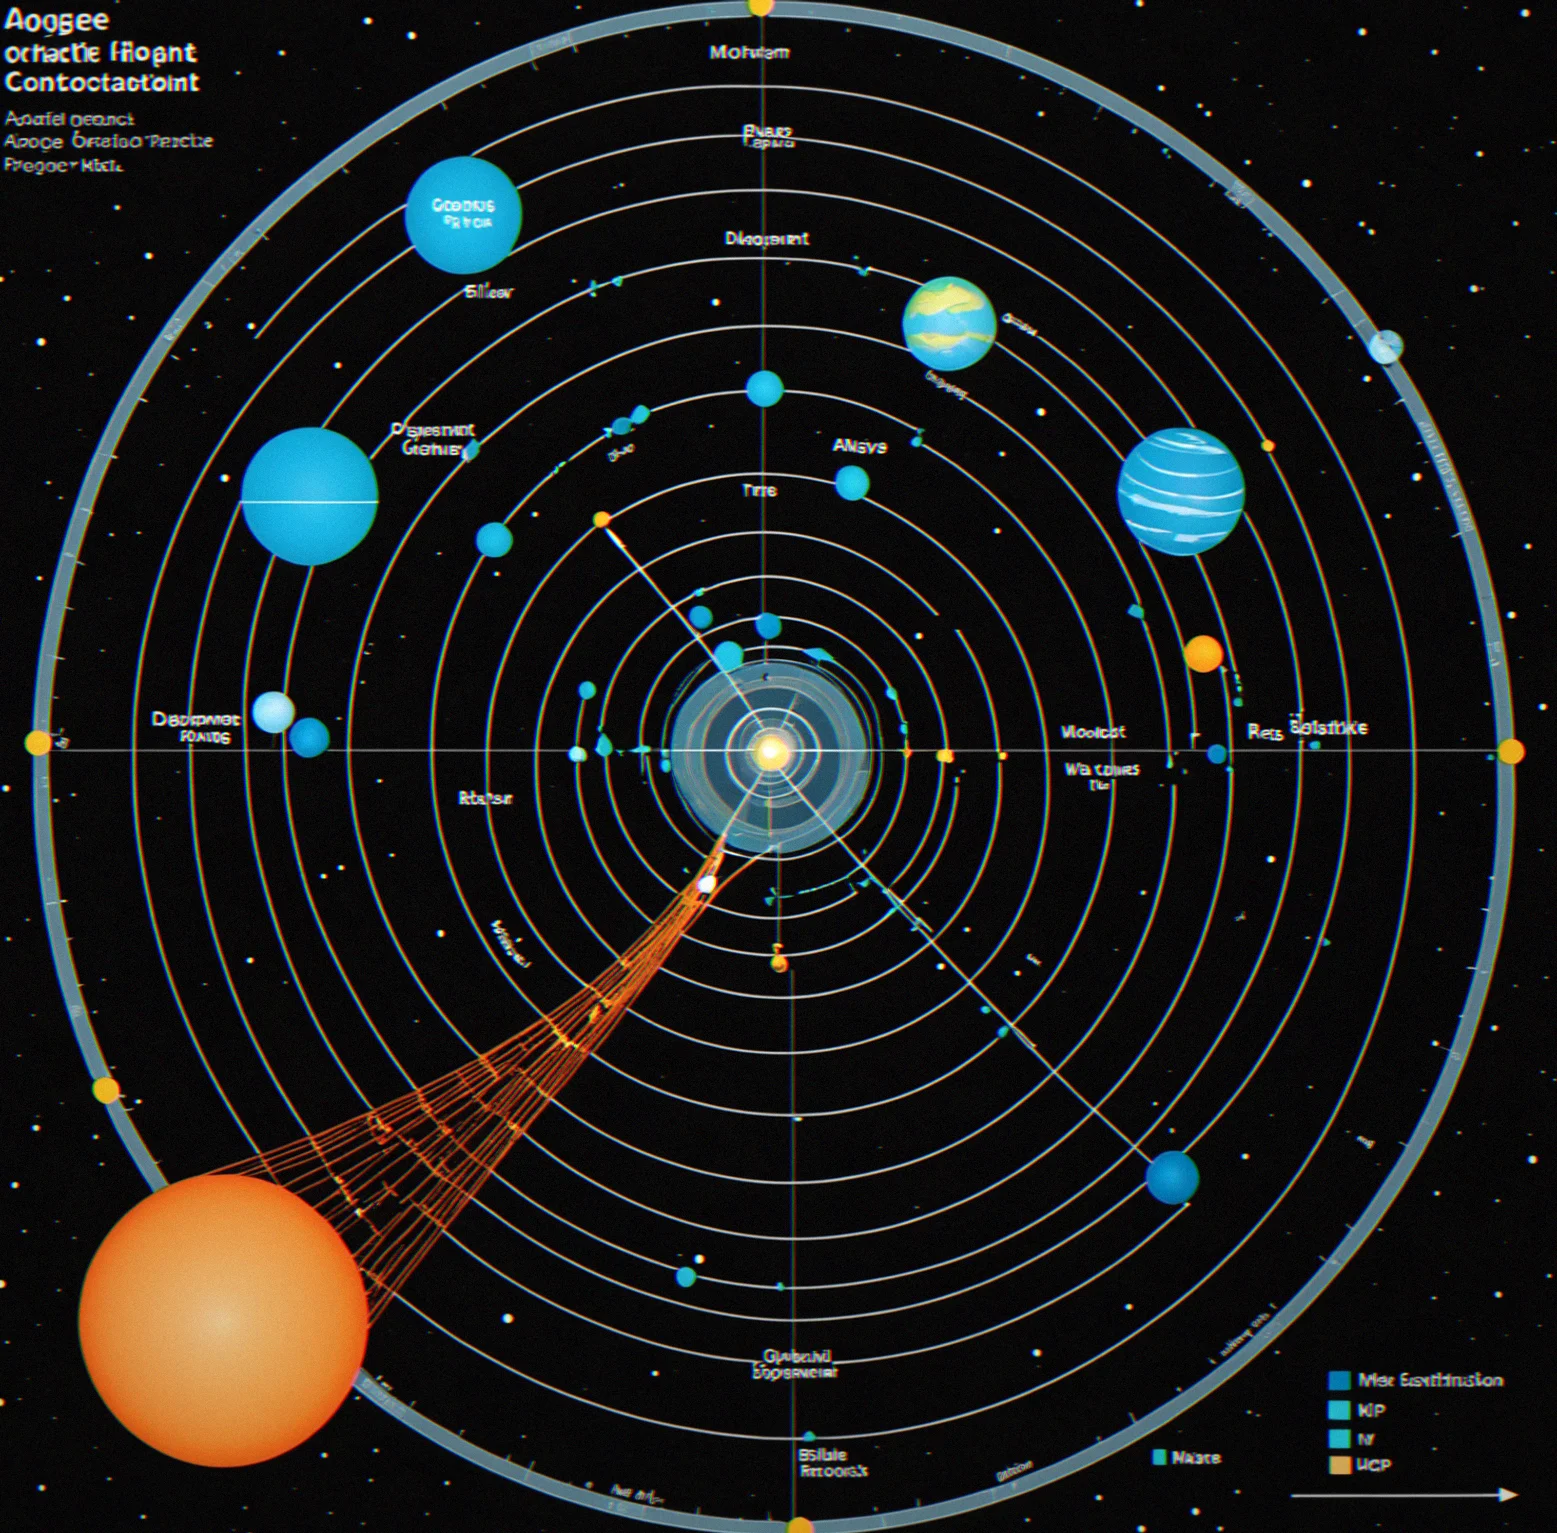
Apogee and perigee tuning
Two points matter: apogee is farthest out, perigee is closest. Change one and the other moves. Getting a stable circular orbit takes work. That's the whole thing.
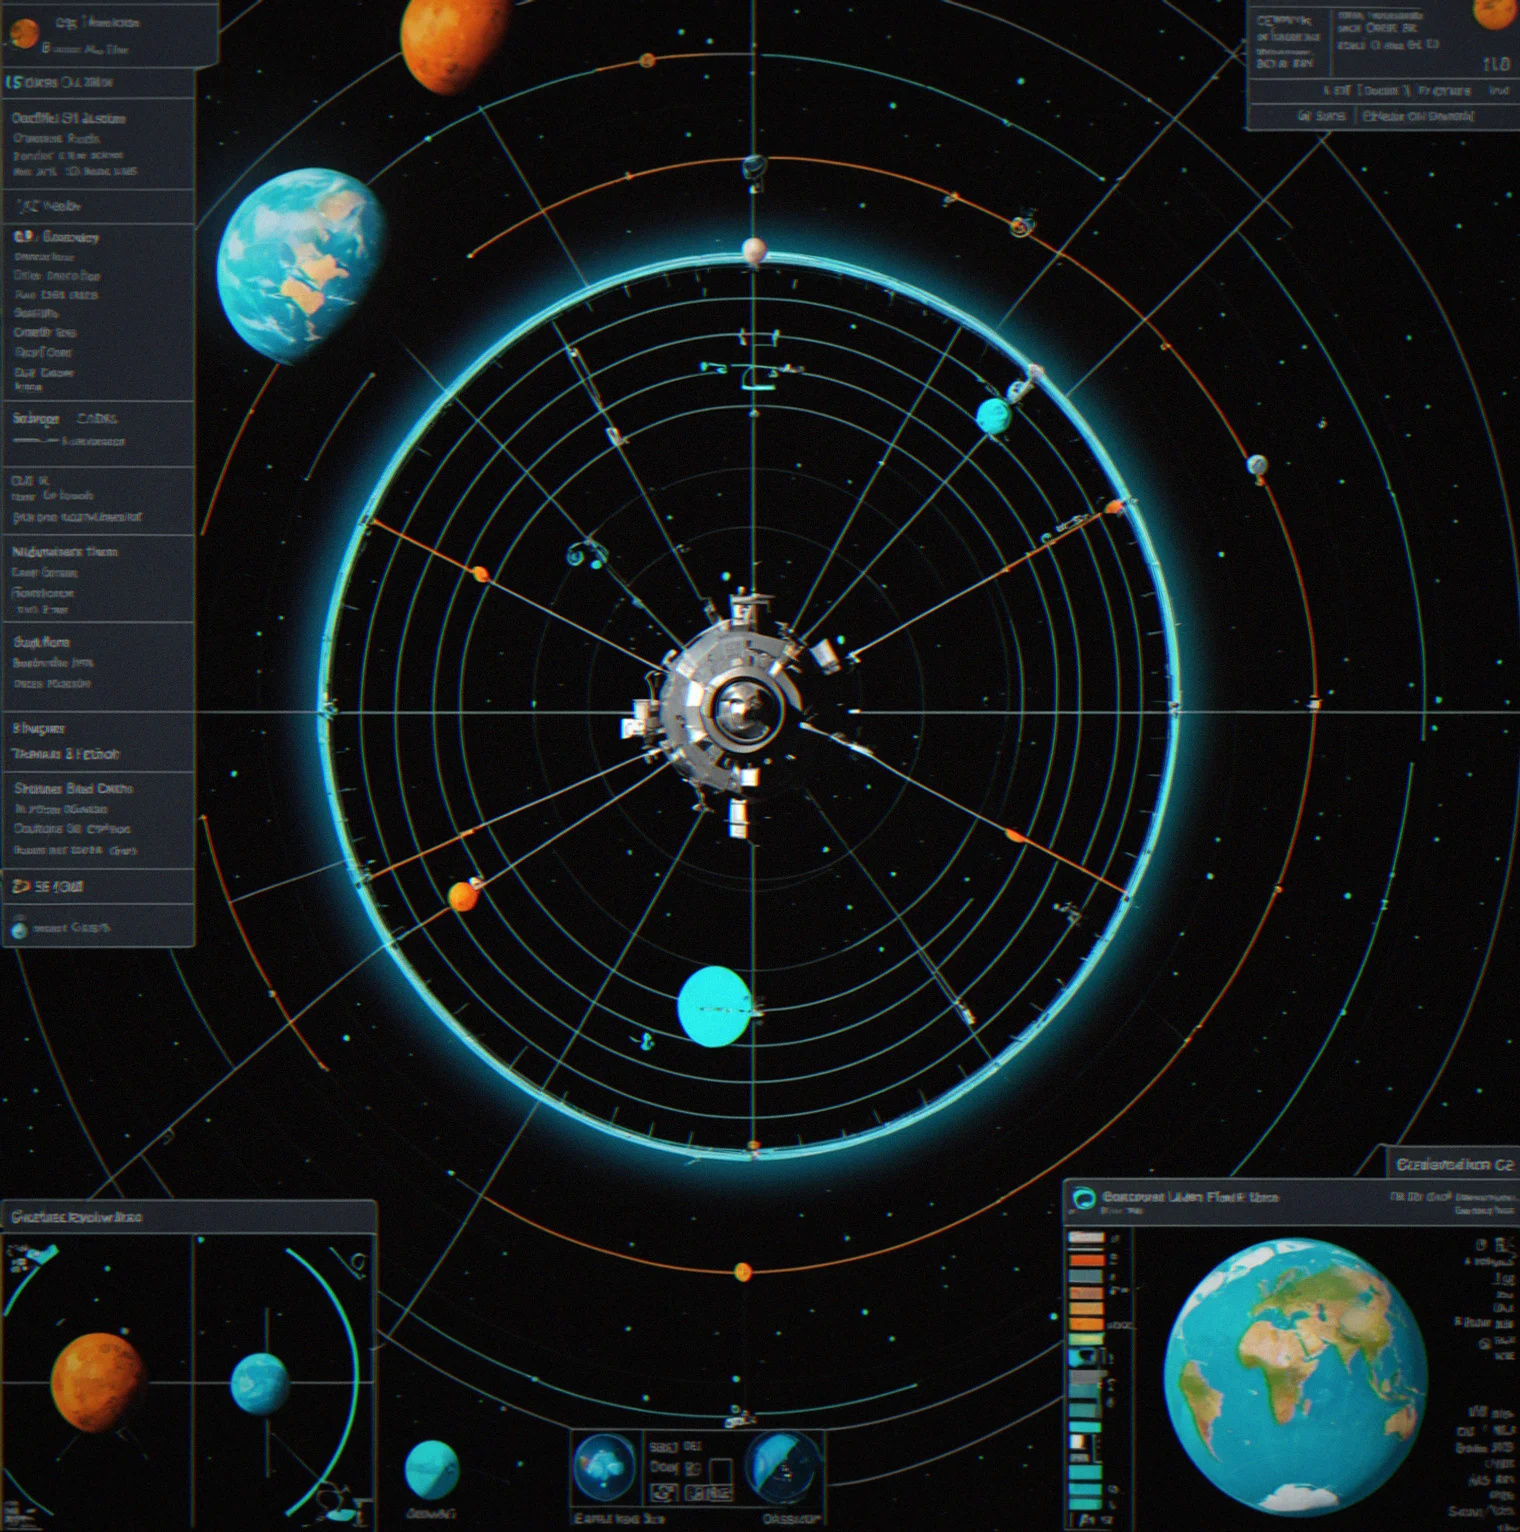
Failure replays show the math
You missed insertion by three hundred meters. The replay shosw exactly where your burn timing slipped, which parameter caused it, and how much fuel you wasted. Watch it. Try again.
Incremental progression through wins
Win matches, earn satellites. More satellites mean more options. You're not grinding skins or waiting for seasons. You're building a fleet that actually changes how you play and where you stand.
Just over 2,400 meters per second. Five satellites. One winner.
Three mechanics that actually set Orbitanchor apart from the rest.
Insertion point math
You're doing the Hohmann transfer calculations yourself, not letting some autopilot handle it. Plot your burn window, execute it across multiple game days, and hope you hit that apogee altitude within about 50 meters. Get it wrong and your satellite overshoots past the target body entirely. It's punishing.
Resource scarcity forces decisions
Five satellites total. That's all you get. Lose one to a bad burn or enemy fire and you're down to four for the entire match. No respawns. No fresh units arriving late. Each satellite you send out is something you're spending from a pool that doesn't refill.
Map control wins games
Jupiter's insertion window gives you a fuel efficiency boost. Io's orbital corridor is where you grab first-mover advantage on the high-value asteroids. Being positioned near named celestial bodies compounds your advantage as the match goes on. Own the gravity wells and you own the game.
Why orbital mechanics create depth instead of frustration
Most space games just slap orbital mechanics on top as window dressing. Orbitanchor actually makes it the core of everything. You're not riding some pre-baked autopilot — you're calculating insertion velocity, hunting for the right burn windows, tweaking your apogee altitude, and basically wrestling with physics the whole time. Sounds brutal, right? It's the opposite. Once you understand why your orbit tanked — you were about 200 meters per second too slow, your perigee sat 15 kilometers higher than it should've been, your burn timing missed by a few seconds — the fix becomes obvious. Next time you won't make that mistake.
Real-time windows create actual stakes. Your Hohmann transfer to Mars opens in four minutes and slams shut seven minutes later. You commit to the burn right now or you're stuck waiting nearly three decades for the next shot. That's not made-up game drama, that's how orbital mechanics actually work. The tension teaches you something. Your first attempt, hands shaking. By your third competitive run you're executing burns with real precision.
Resource scarcity does something cosmetics and battle passes never touch. You've got five satellites and 2,400 meters per second of delta-v to work with. That's it. No reinforcements in the endgame, no way to buy your way out of a corner. Lose a satellite to a miscalculation or enemy strike and you're suddenly operating with four. Your map control shrinks, your options narrow, your window to stage a comeback gets tighter. Everything costs something because you can't just spend money to get it back.
Months between consecutive Mars transfer windows
Maximum insertion error tolerance before orbit decay (meters)
Asymmetric gravitational advantage
Control Jupiter's insertion corridor and you unlock a 15% fuel efficiency boost on every maneuver that follows. That advantage snowballs. Lock it down early while your opponents are still rationing fuel and you're already positioning your second satellite.
Failure replays teach through detail
Missed your orbit by 310 meters. The replay breaks down your exact mistake, shows where the calculation diverged, flags the wasted delta-v. You either learn it or you'll keep making it.
Incremental progression through wins, not grinding
Satellites come from winning matches. First victory gets you five. After your fifth win you're up to seven. Hit your first rank advancement and you've got ten. Your fleet size tells the story of your actual performance — no cosmetics, no season pass nonsense.
Named celestial bodies create positional turf wars
Jupiter, Saturn, Io, the Moon, the asteroid belt. Each one controls orbital insertion corridors. Players acutally fight over specific named locations, which means the map control has real strategic teeth instead of being arbitrary.
Gameplay in motion
This is what orbital mechanics actually look like when you're playing. Raw footage. No filters, no cinematic polish.
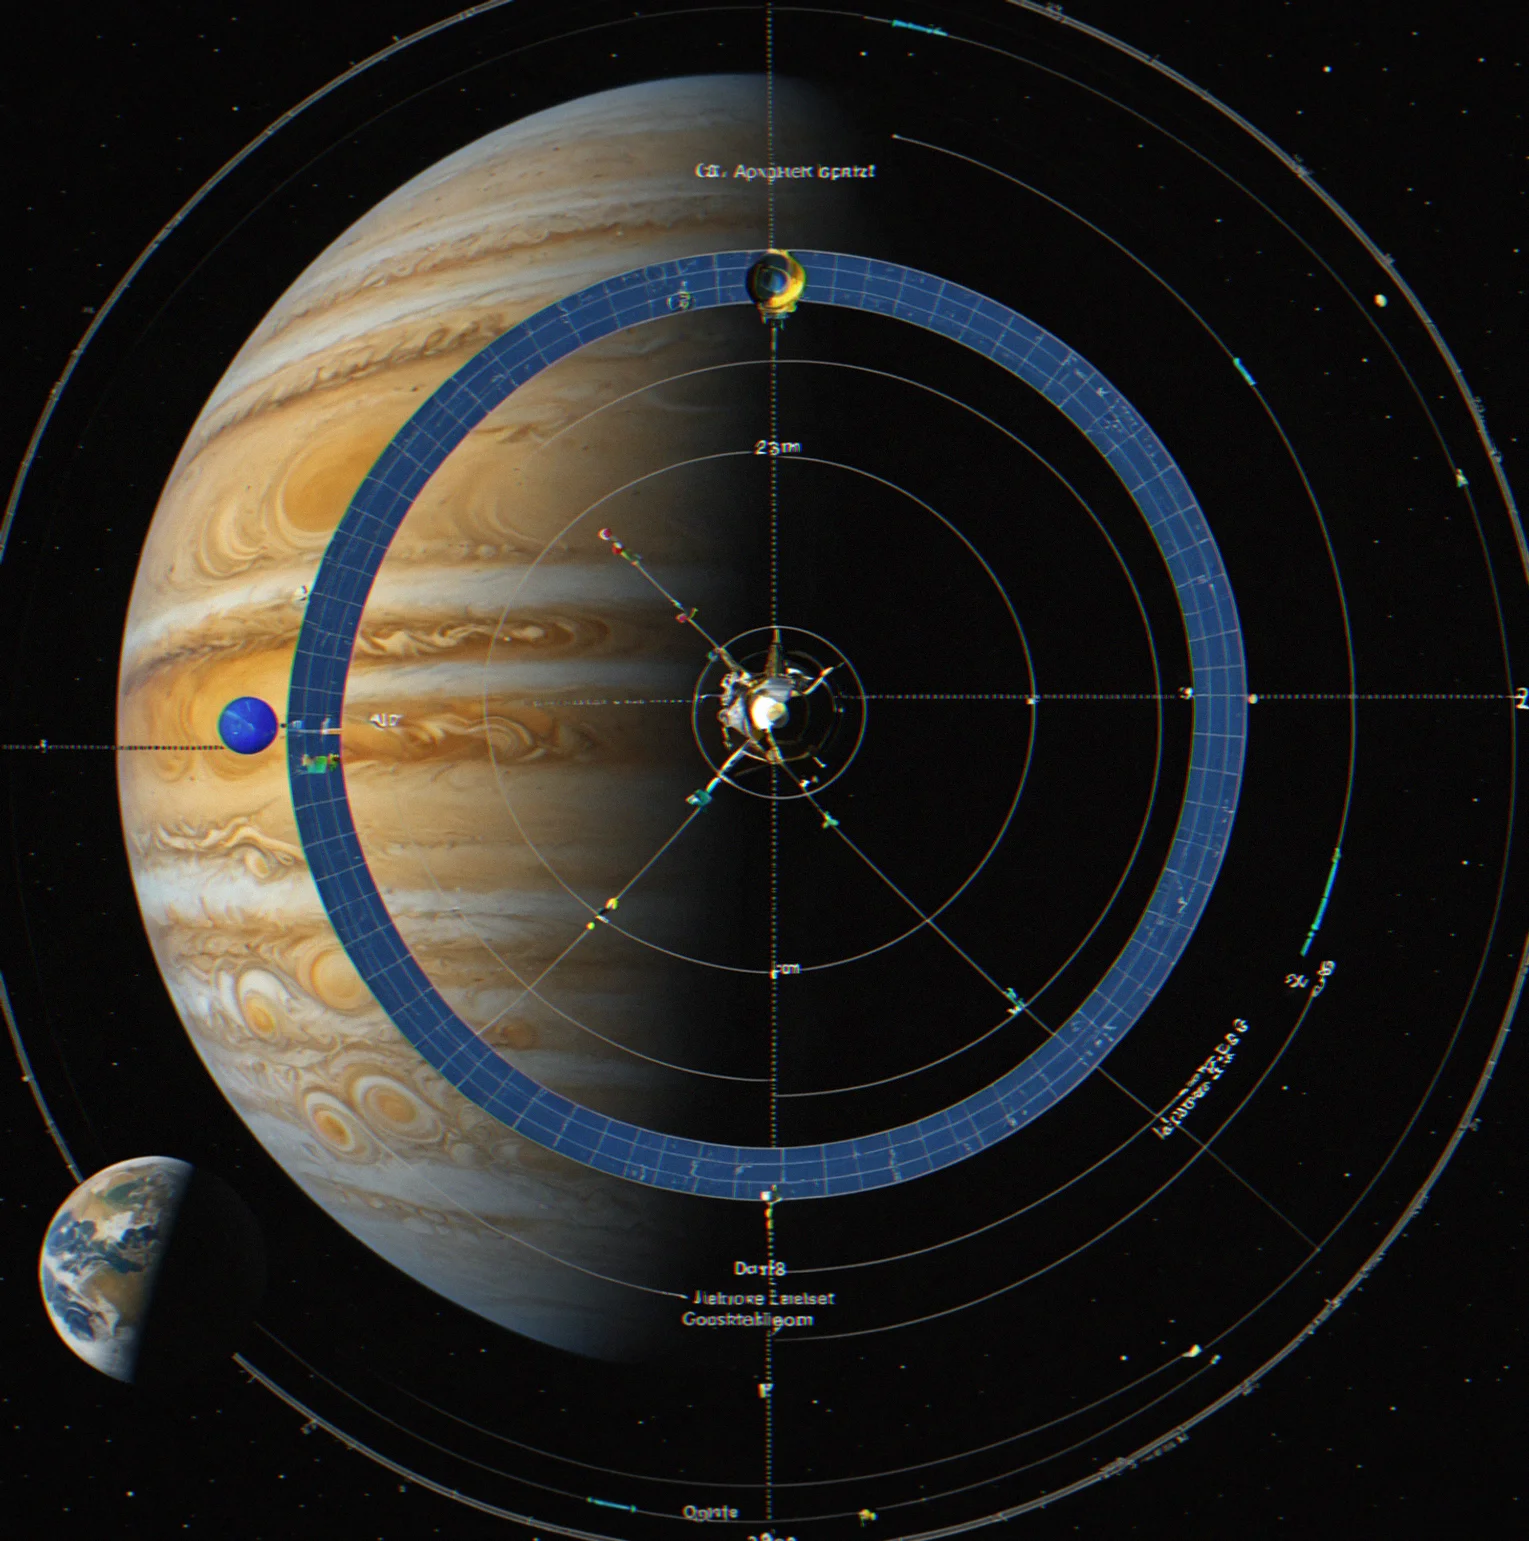
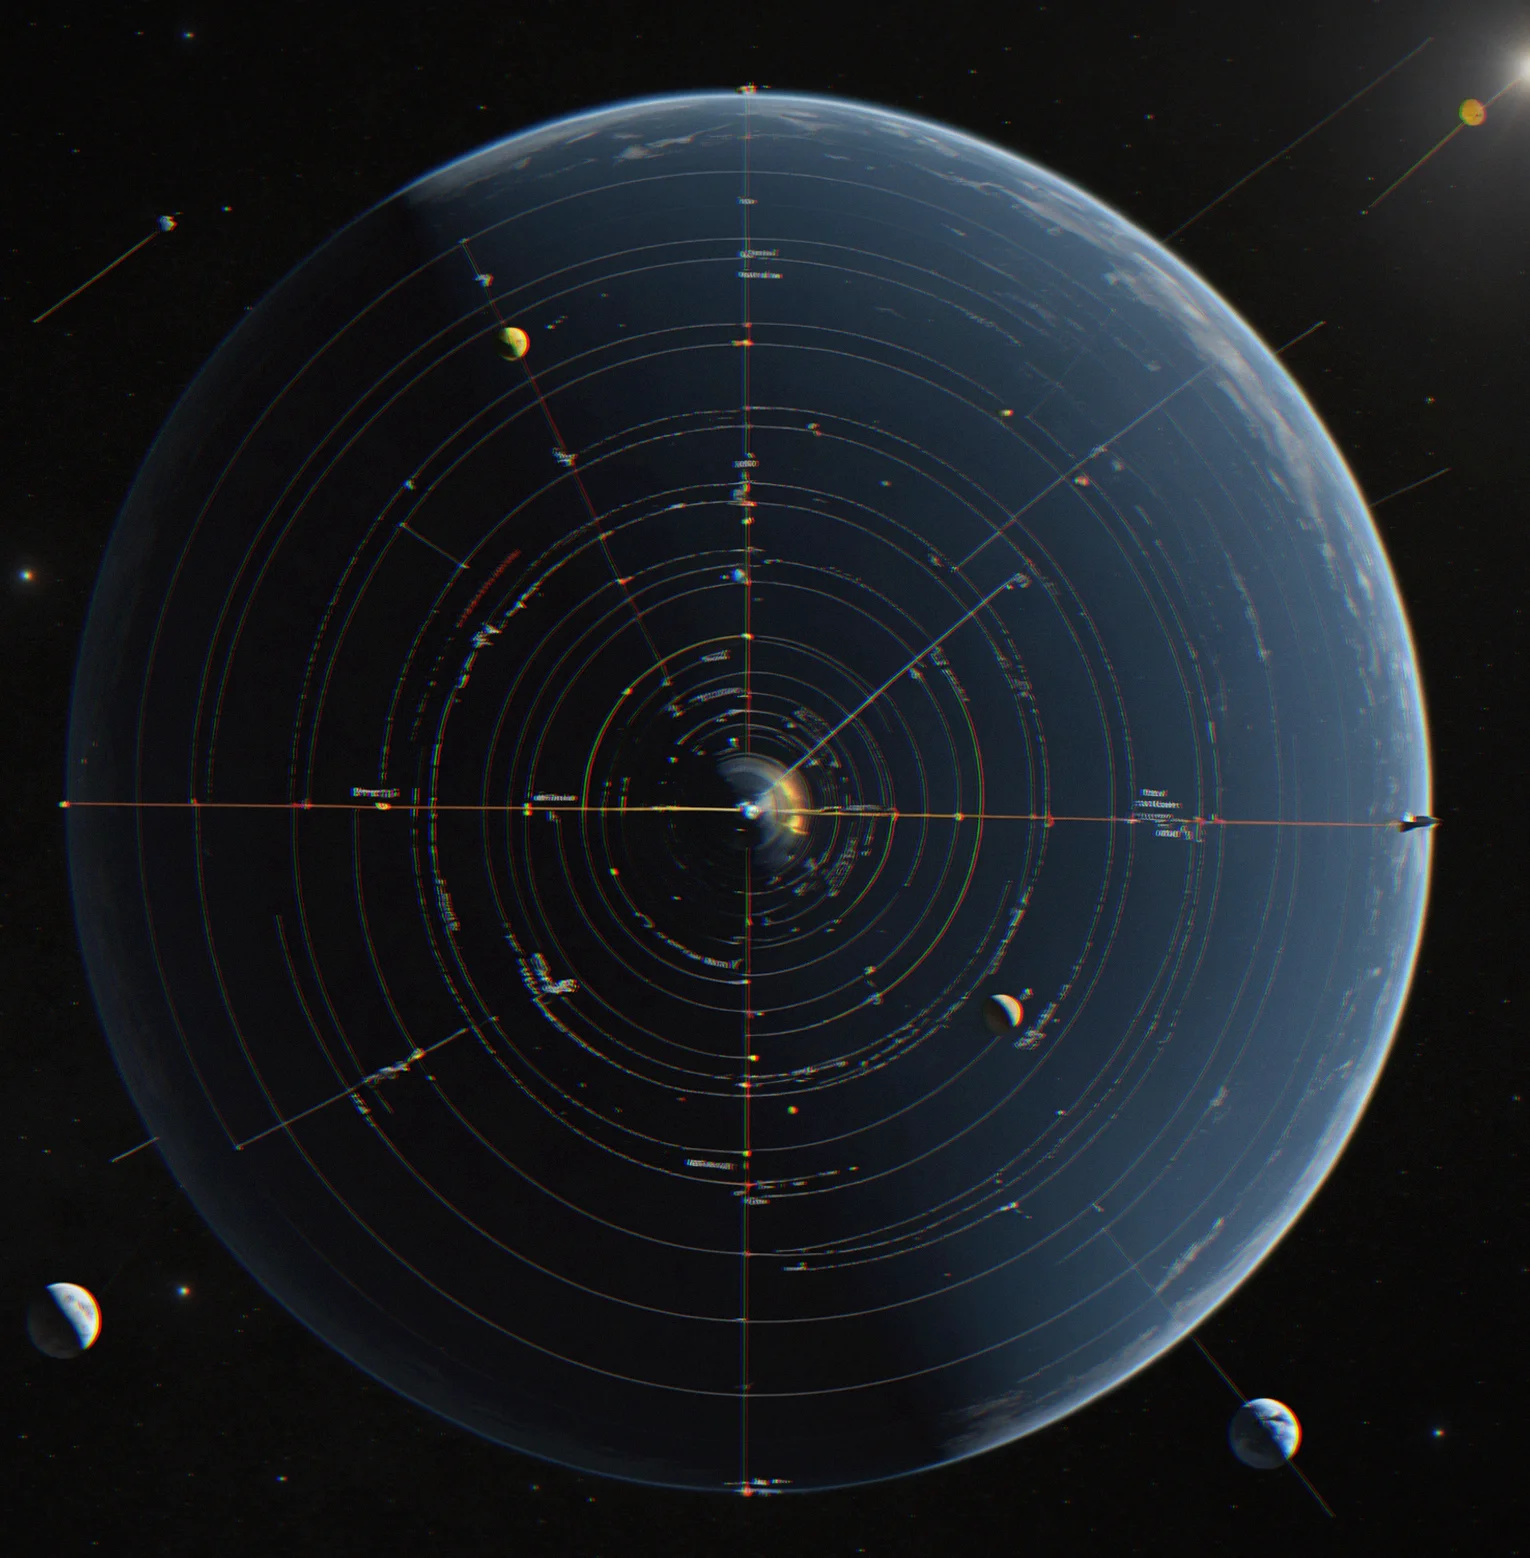
Orbital insertion screen with a satellite path around Jupiter. Apogee sits at 250 km, perigee at 180 km. Delta-v readout shows 847 m/s.
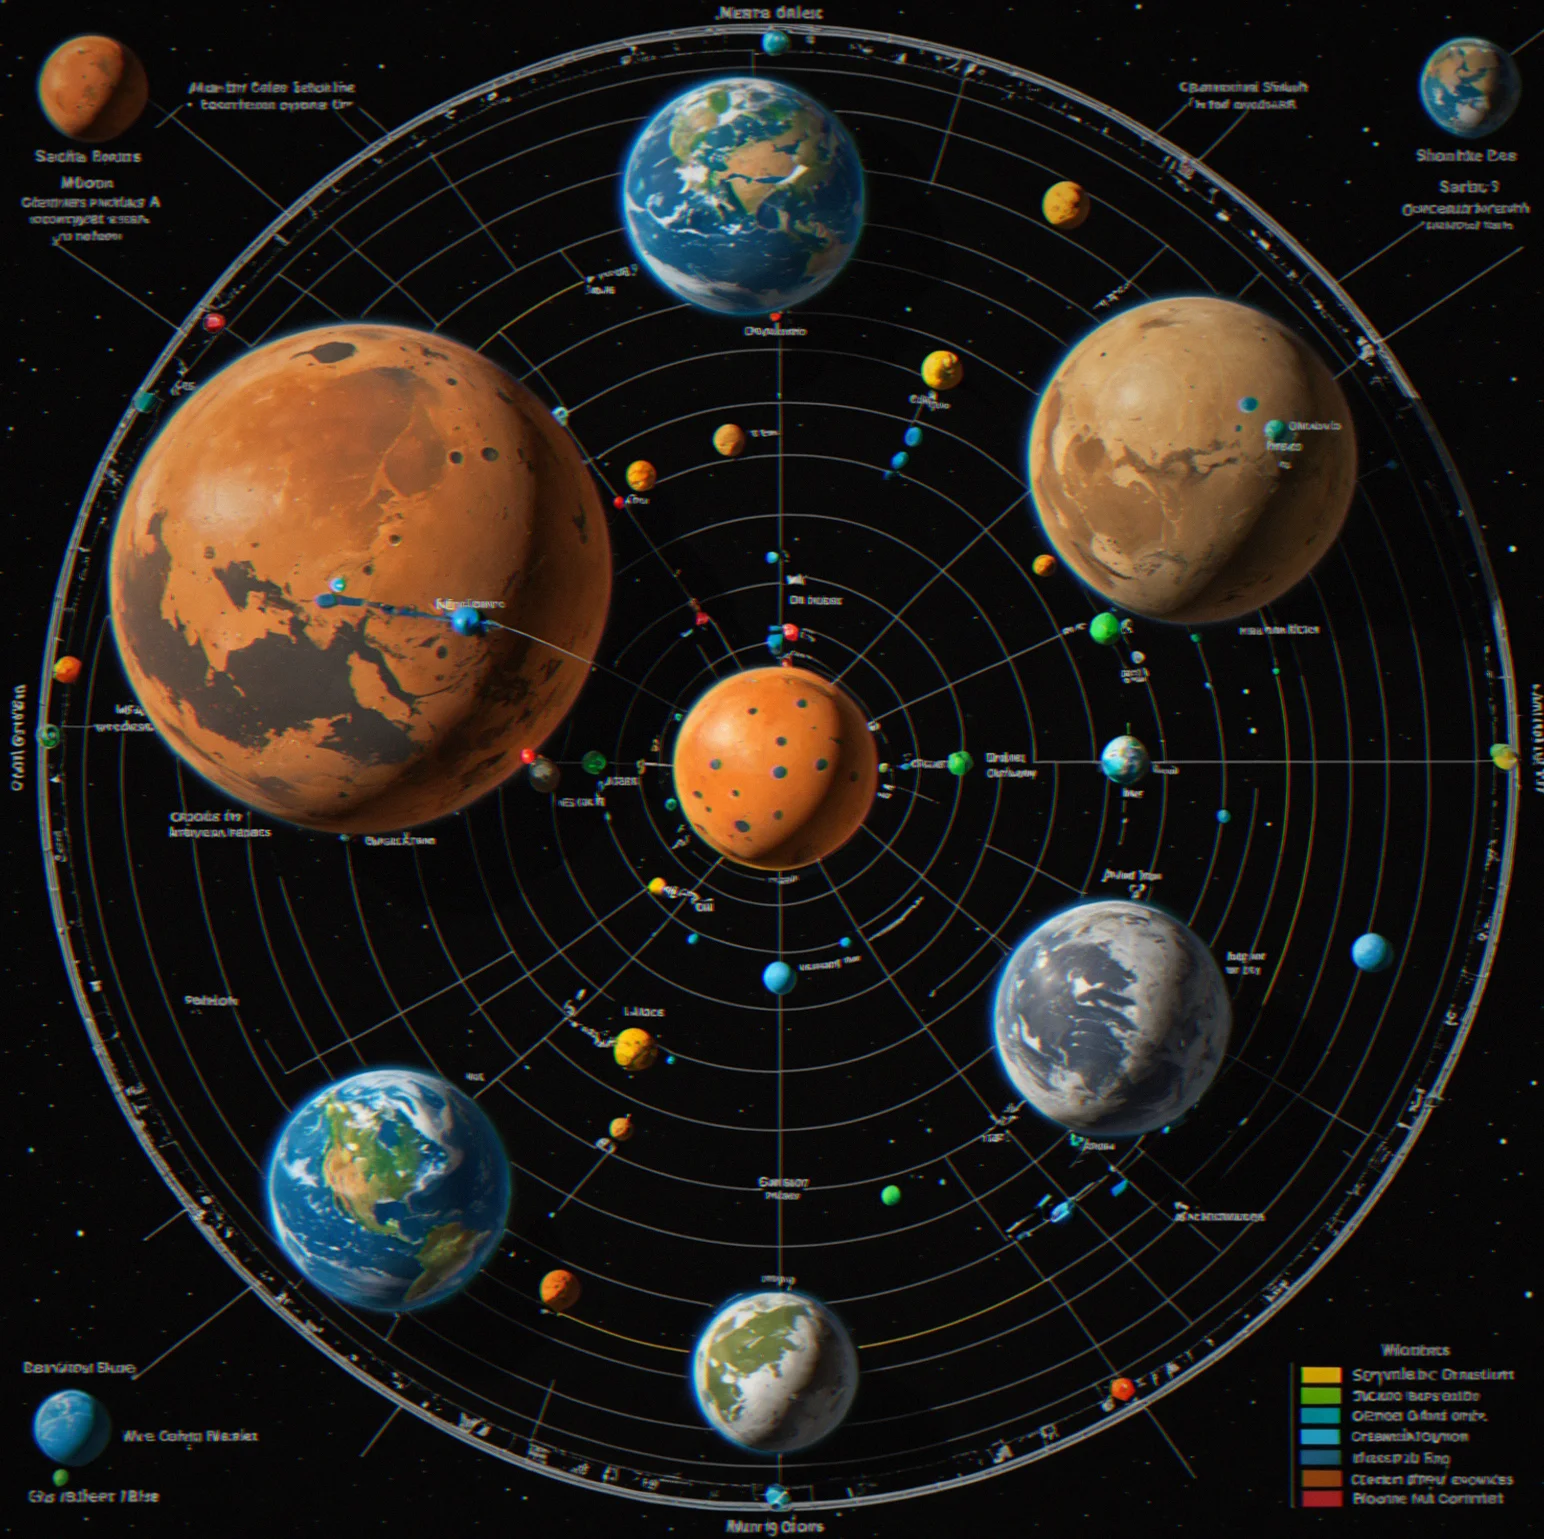
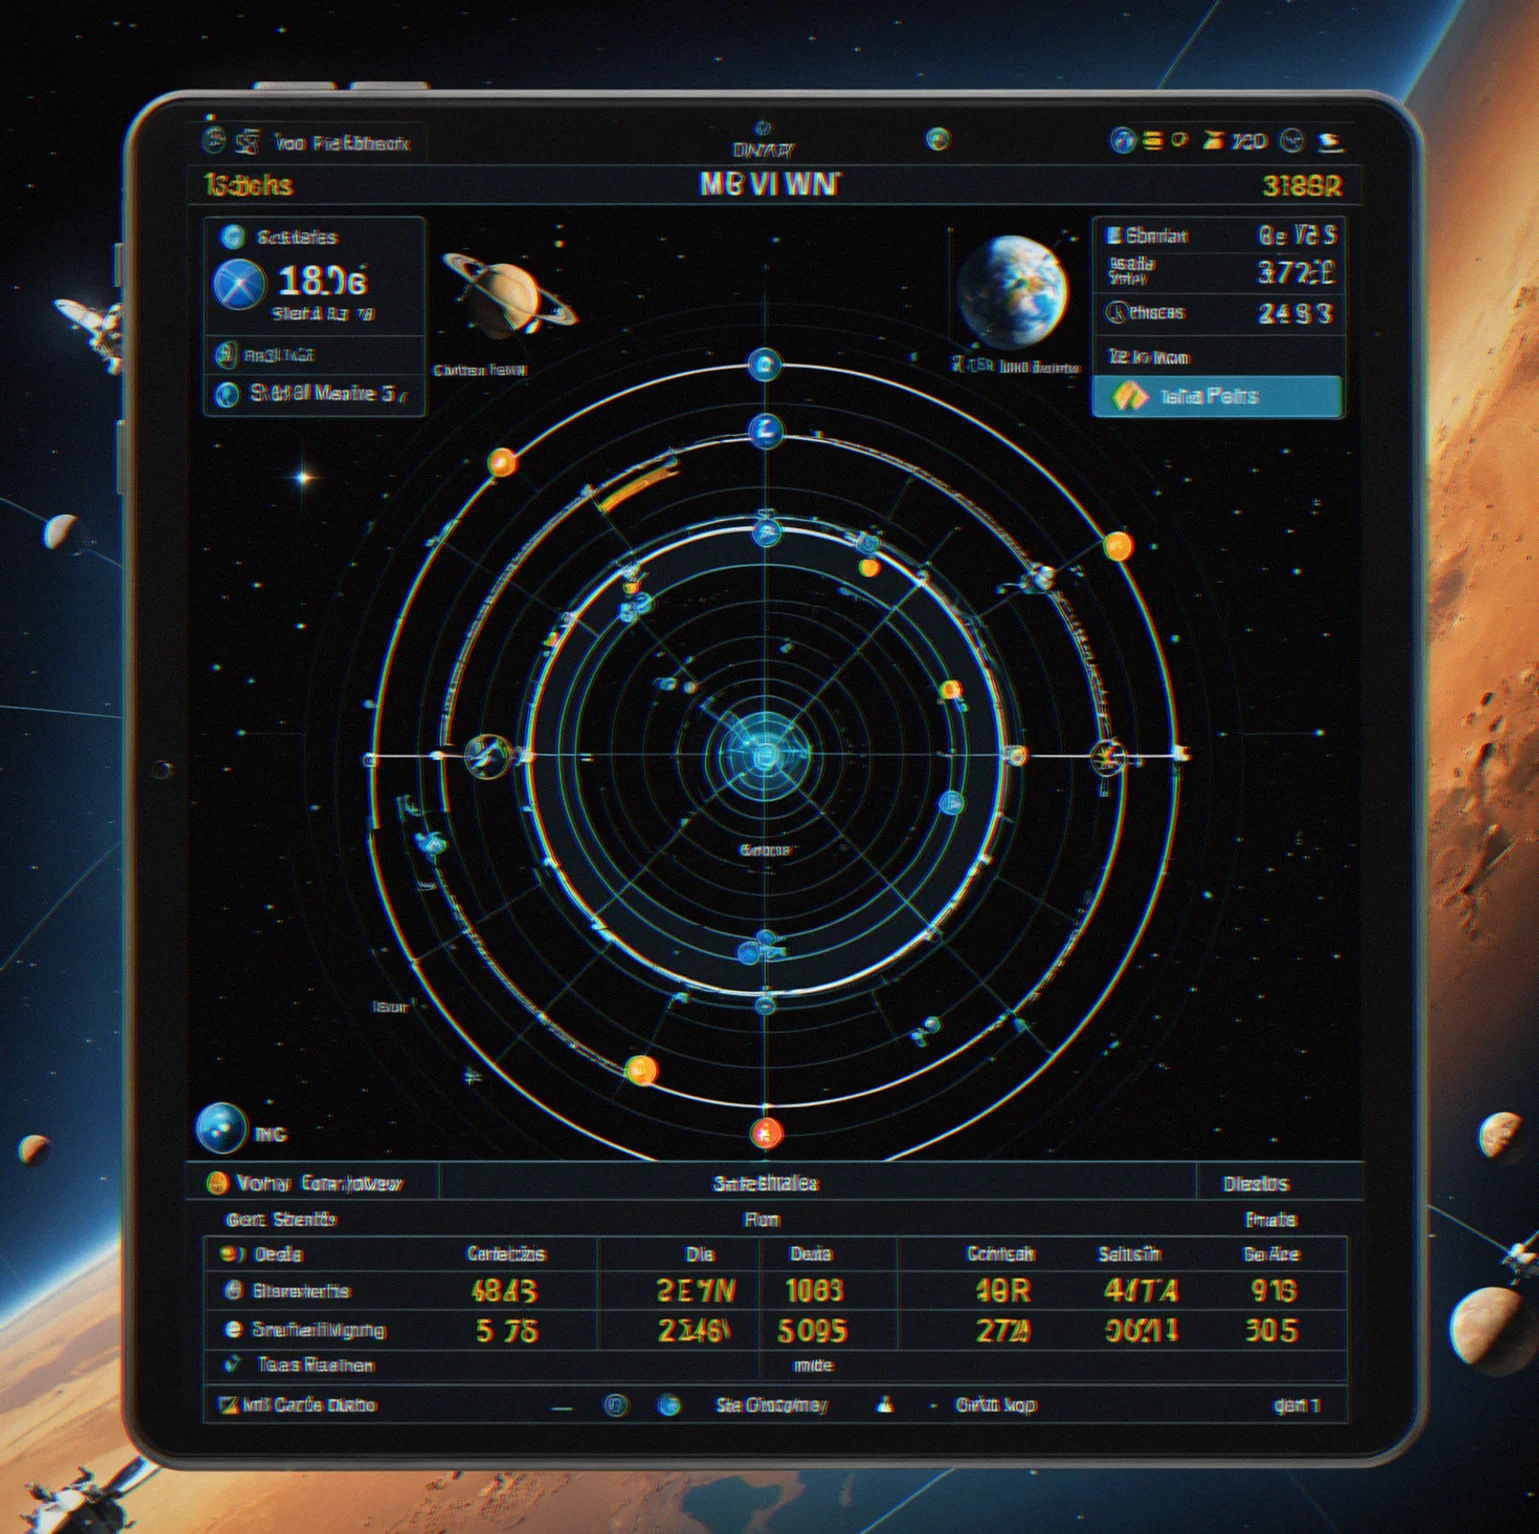
Five-player match map. Satellites spread around Mars, the Moon, and Saturn. Each player's satellites are color-coded with gravitational zones marked out.
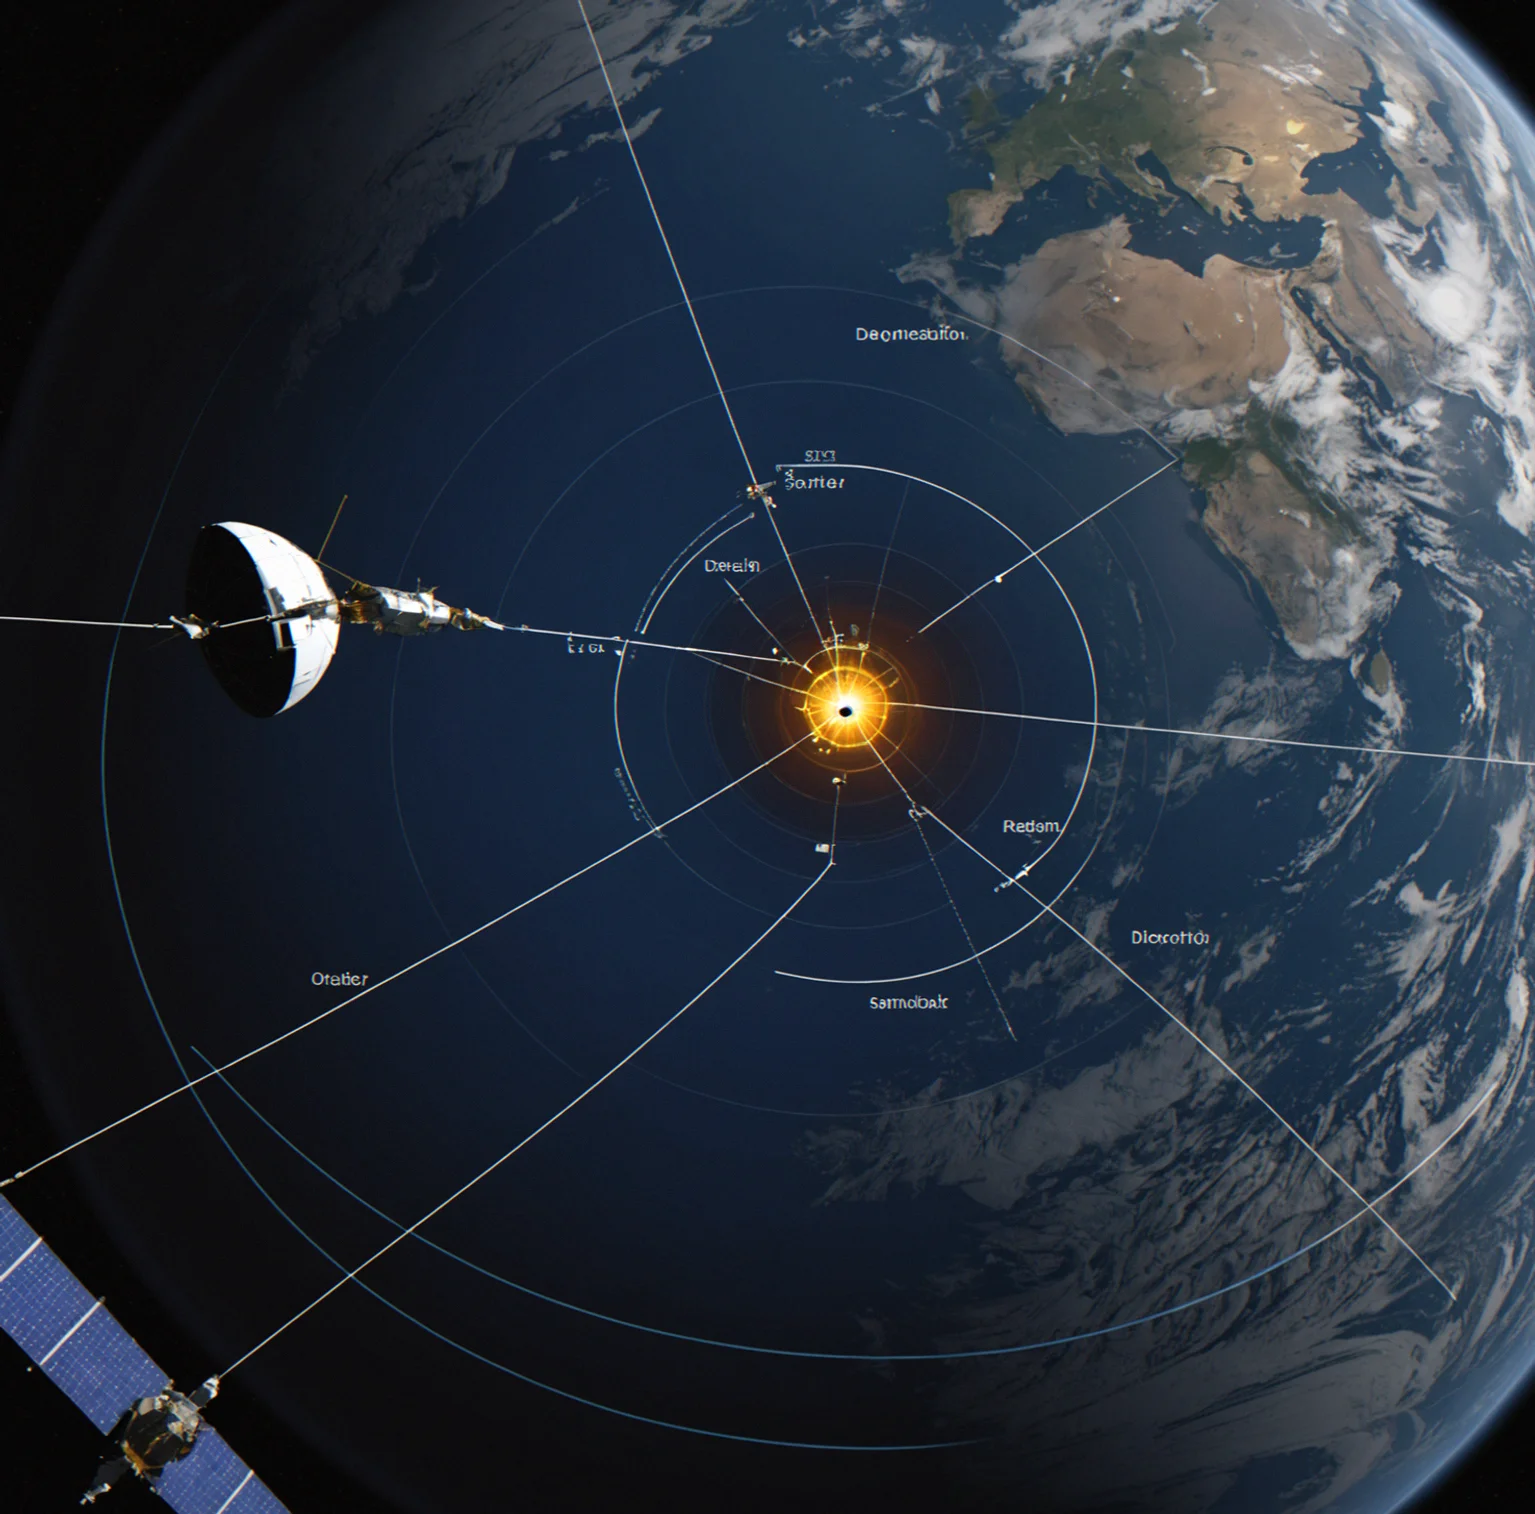
Replay of a failed orbital insertion. The error vector is highlighted at 310 meters. Burn timing was off. Wasted delta-v is calculated and shown.
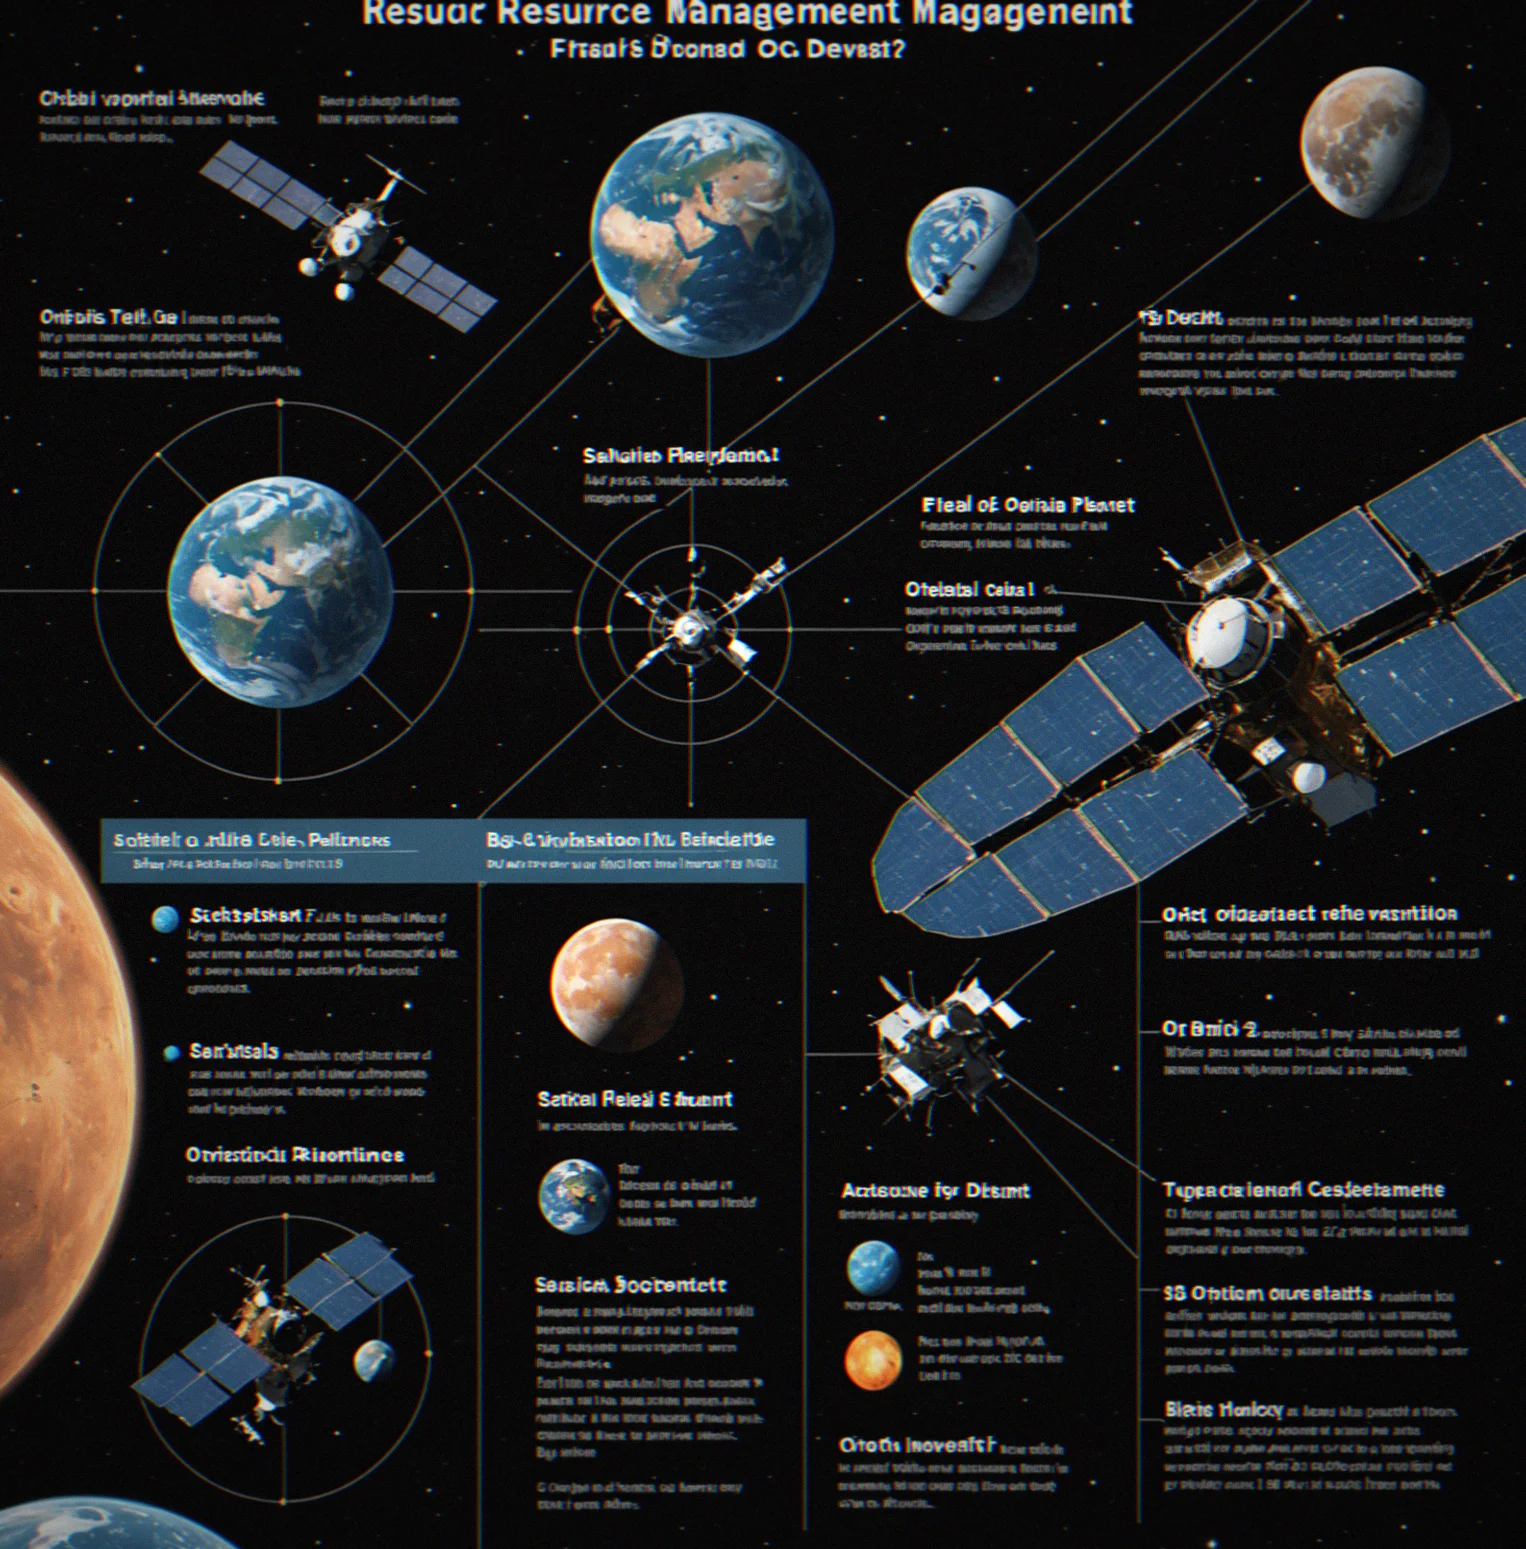
Resource management panel. Five satellites each with their own fuel remaining. Fleet delta-v totals 1,247 m/s. Timers show when the next orbital windows open.
Orbital window countdown for an Earth-to-Venus Hohmann transfer. Window closes in 6 minutes 43 seconds. Next one doesn't come around for 143 days.
Post-match stats. You earned five new satellites on your first win. Rank went up. The screen breaks down your delta-v efficiency across every maneuver.
2,400 m/s total delta-v. Five satellites. Five questions.
Real orbital mechanics create real friction. Here's what new players actually want to know before jumping in.
Not really. KSP is a sandbox where you design and fly rockets from scratch. Orbitanchor doesn't have any of that — you get five satellites already built and you're fighting over positions on the map in real-time. Delta-v is all you've got. Everything comes down to where you position yourself. KSP teaches you how orbital mechanics work. Orbitanchor turns them into a competitive sport.
Your satellite either overshoots the target or falls into the atmosphere. The failure replay shows you exactly what went wrong — which part of your calculation was off, how much delta-v you burned for nothing, what you'd need to do differently. Then you keep playing with four satellites left instead of five.
Around 45 to 90 minutes depending on how many people are playing and how contested things get. The timeline runs compressed so you're not waiting real-time, but the orbital windows themselves? Those are real. Your Earth-to-Mars window opens for just a few minutes and you won't see another one for almost two years.
You can do either. Casual mode uses a faster timescale and shorter windows so you're not sitting around. Ranked is where the real orbital mechanics come in — actual planetary positions from 2026 ephemeris data — and that's wehre one mistake costs you the match.
The tutorial gets you through Hohmann transfers, delta-v budgeting, and why your first attempt will probably fail. Then the failure replays become your education. You'll see exactly where your insertion went wrong, watch it happen in the replay, understand which number was off. By your fifth or sixth match it clicks.
Stay on top of match results, orbital mechanics tips, and where you stand in the rankings—delivered weekly.
Just one email a week. You'll get breakdowns of ranked matches, new maps and celestial bodies as they drop, and the actual reason your insertion went sideways. No fluff, no sales stuff. Leave whenever you want.